 EN
EN


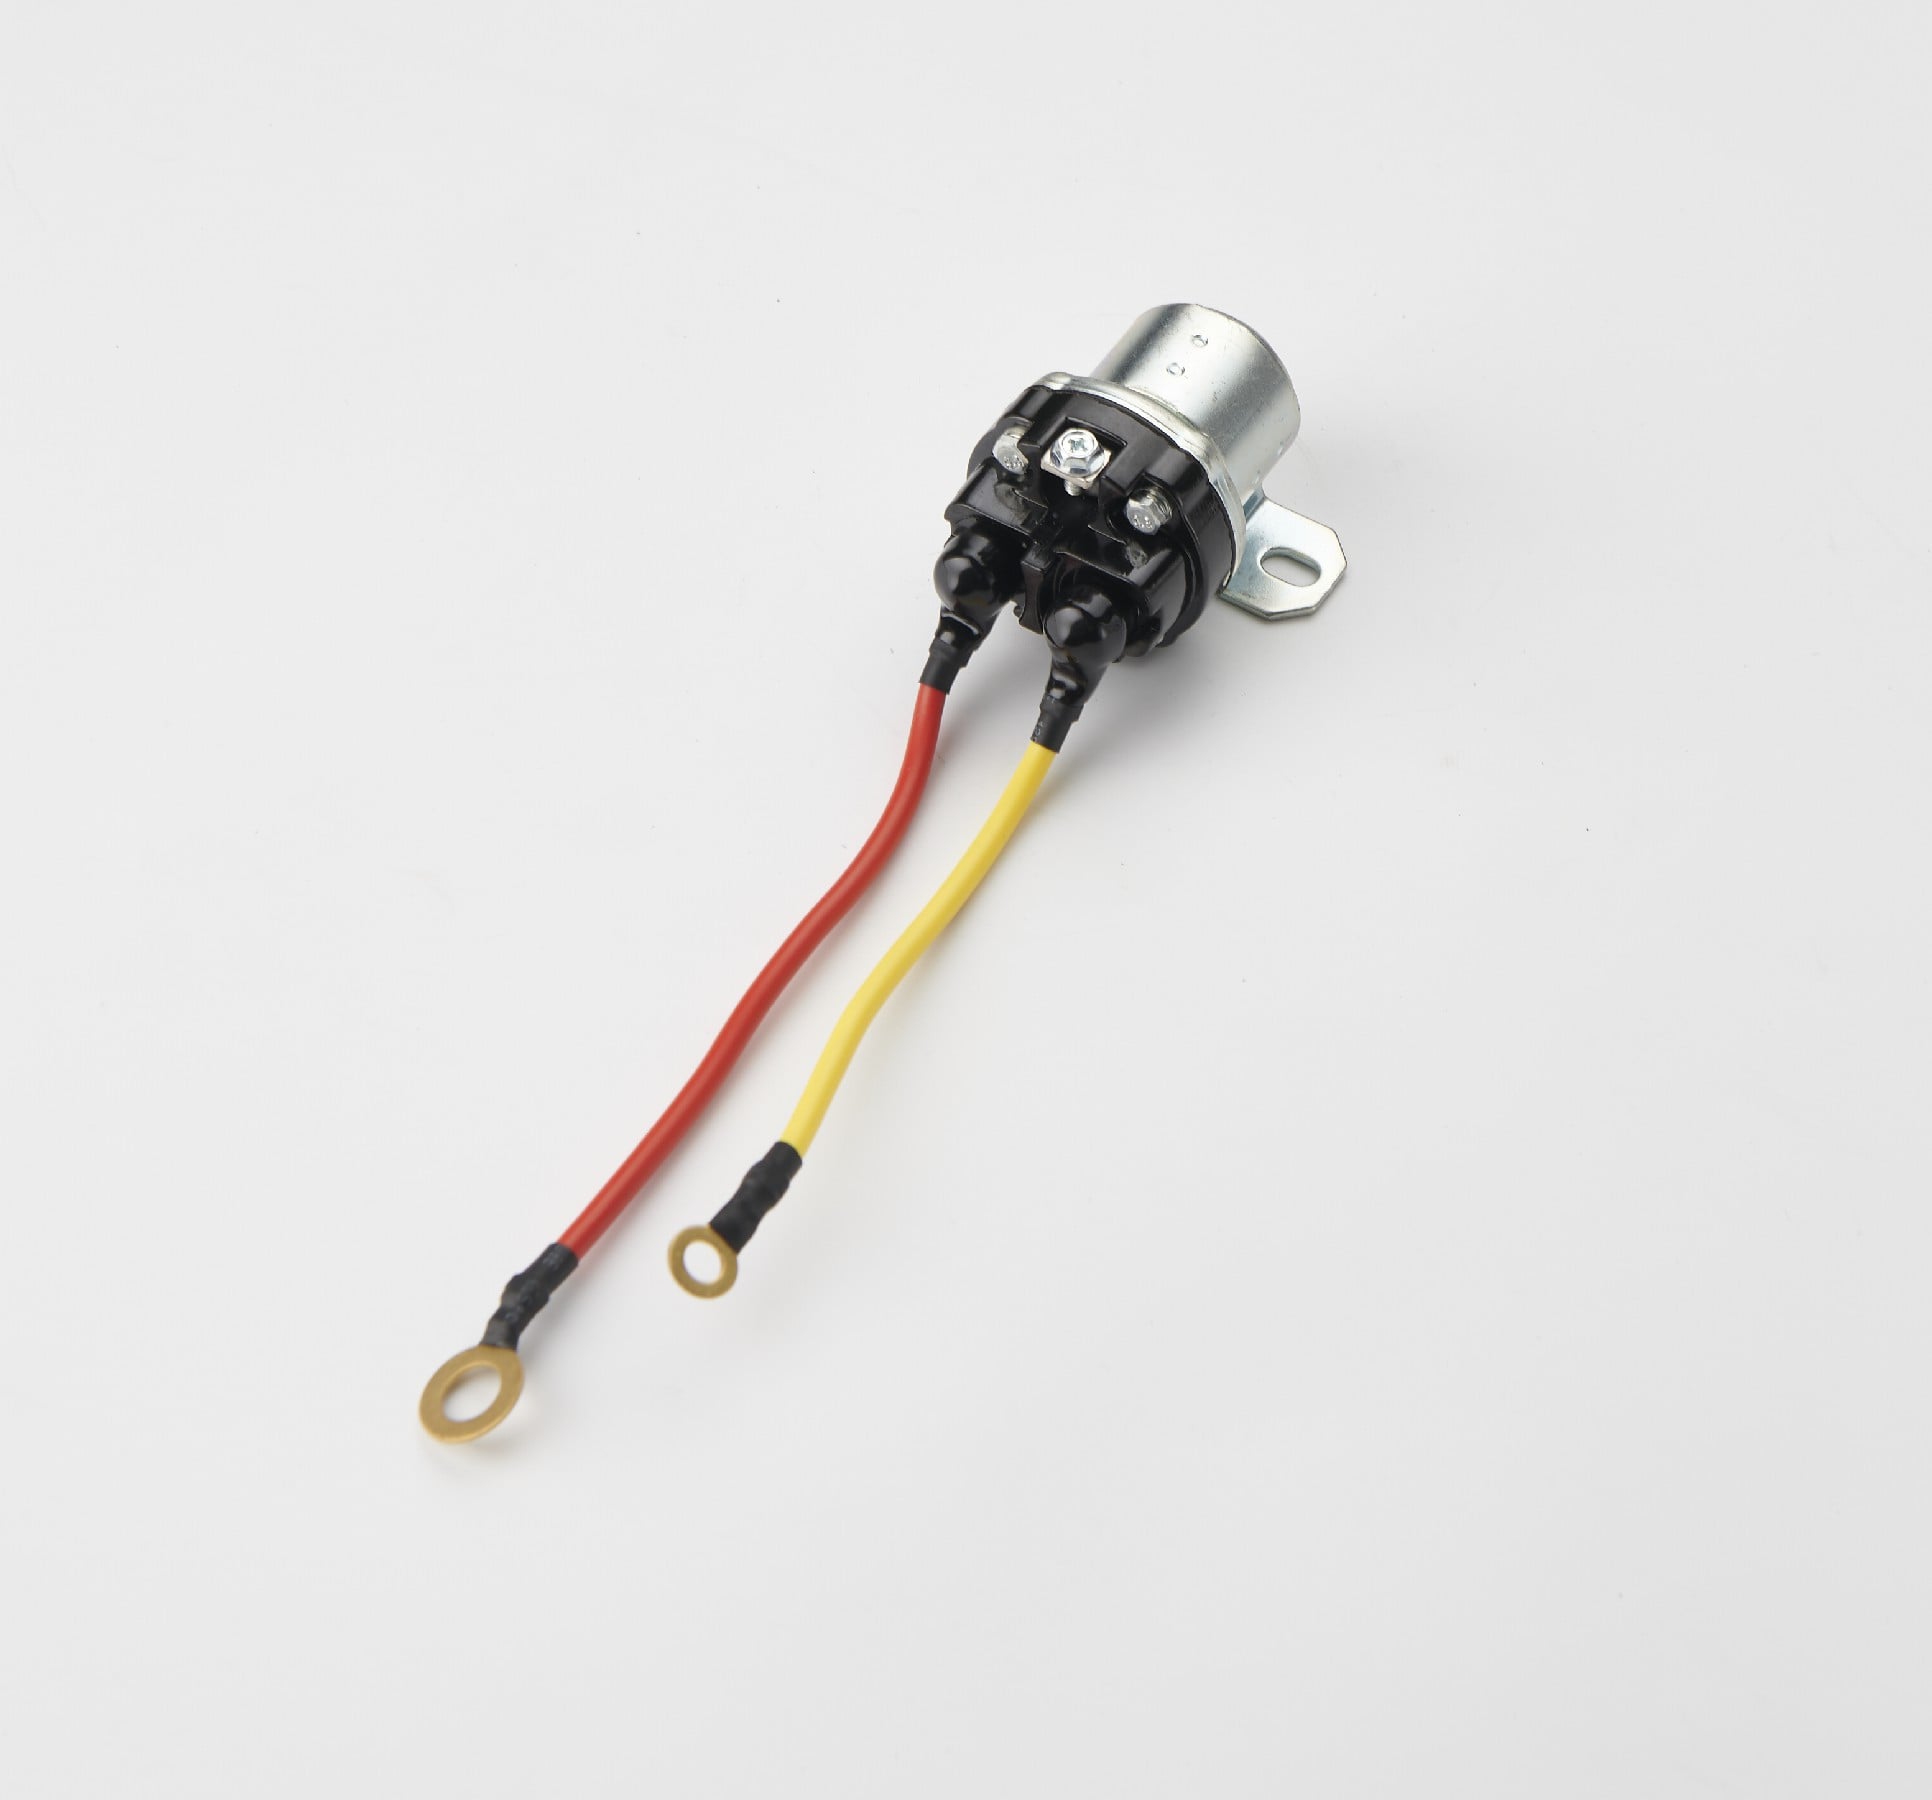
Vehicle no-start conditions are frustrating and costly, and one of the most overlooked culprits is improper starter relay wiring. The starter relay acts as a critical electrical bridge between your vehicle's battery and engine starter motor, directing high-current flow with precision. When starter relay connections are installed incorrectly, wired in reverse polarity, or left loose, the entire starting system fails despite a healthy battery and functioning starter motor. Understanding how starter relay wiring mistakes occur—and how to prevent them—can save you thousands in unnecessary diagnostics and component replacement.
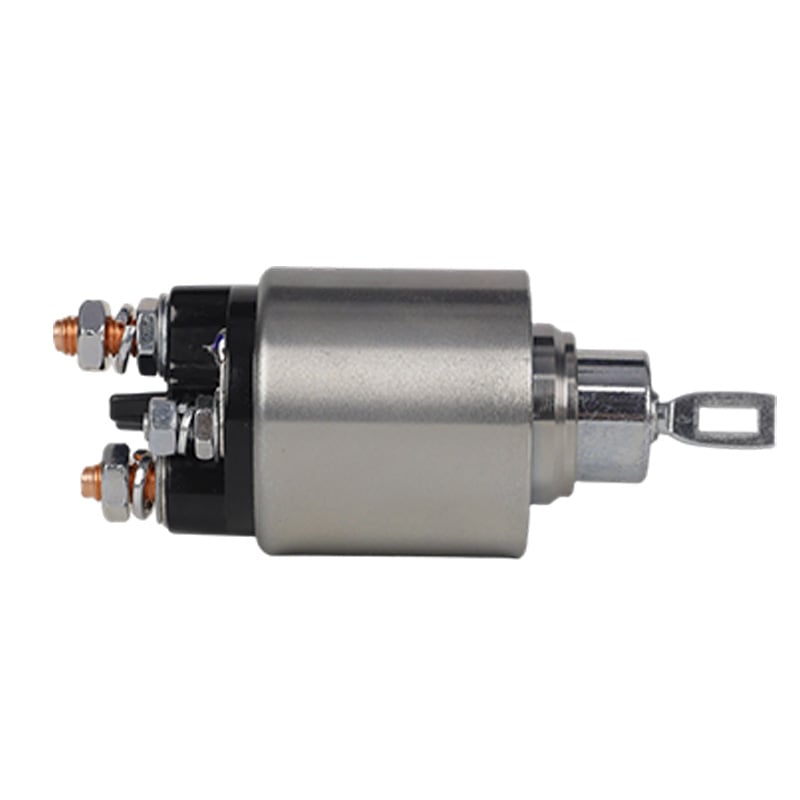
The starter relay is a solenoid-based switching device that completes the high-amperage circuit required to engage your starter motor. Unlike small gauge wires used throughout most of your vehicle's electrical system, starter relay circuits carry 200+ amps during engine cranking. This extreme current demand means that every connection, terminal orientation, and wire gauge must be absolutely correct. Even a single miswired terminal on your starter relay assembly will prevent engine cranking, leaving you stranded with a battery that measures perfect but a vehicle that refuses to start.
Understanding Starter Relay Function and Terminal Identification
How the Starter Relay Controls Engine Starting
A starter relay is fundamentally a high-current electromagnetic switch. When you turn your ignition key, a low-current control signal from your key switch energizes a small coil inside the starter relay. This magnetic field pulls an internal armature, which physically closes heavy contact points. Those contact points then connect the positive battery terminal directly to the starter motor windings, allowing thousands of amps to flow and spin the engine. The starter relay essentially converts a small ignition signal into a massive current delivery system. Without this switching mechanism, your ignition key itself would need to handle lethal amperage levels, making vehicle starting impossible.
Terminal Configuration and Proper Labeling
Most automotive starter relay units feature four main terminals, though configurations vary by manufacturer and vehicle platform. The positive battery terminal on a starter relay is typically labeled 30 or BAT, and it connects directly to the vehicle's positive battery post or fusible link. The starter motor terminal, often labeled 87 or STR, connects to the starter motor's positive lead. The ignition control terminal, frequently marked 85 or IGN, receives the low-current signal from your ignition switch. Ground terminals, labeled 86 or GND, complete the control circuit back to the negative battery post. Confusing these terminal positions is one of the most common starter relay wiring mistakes that mechanics and DIY enthusiasts encounter.
Common Starter Relay Wiring Mistakes and Their Causes
Reversed Polarity and Inverted Terminal Connections
The single most catastrophic starter relay wiring error is connecting positive and negative wires to the wrong terminals. When the positive battery wire intended for terminal 30 is accidentally routed to terminal 87, or when ground connections are reversed, the starter relay solenoid becomes energized even at rest, draining your battery instantly and creating dangerous heat buildup. Some technicians commit this starter relay wiring error because they fail to consult the wiring diagram before disconnecting the old unit, instead relying on memory or assumptions about terminal placement. This mistake not only prevents engine starting but also risks melting wire insulation and creating under-hood fire hazards.
Loose or Corroded Terminal Connections
Loose starter relay connections create intermittent no-start conditions that are maddening to diagnose. A finger-tight terminal on a starter relay might seem secure, but when your vehicle's starting current surges, a loose connection creates spark, resistance heating, and eventual wire separation. Corrosion on starter relay terminals from moisture, road salt, or oxidation further increases electrical resistance, preventing proper current flow from battery to motor. Many vehicle owners experience random no-start events because their starter relay connections have loosened over years of vibration and thermal cycling. The solution involves torquing starter relay terminals to manufacturer specification—typically 5 to 8 foot-pounds for battery terminals—and applying dielectric grease to prevent oxidation.
Incorrect Wire Gauge Installation
A starter relay wiring mistake that's less obvious but equally damaging is using undersized wire gauge on the battery feed or starter motor output circuits. The positive battery wire feeding your starter relay should typically be 4-gauge or heavier, while the starter motor connection should be 2-gauge or thicker, depending on starter amperage. Using 8-gauge or 10-gauge wire on these high-current paths causes excessive voltage drop, heat generation, and wire insulation failure. This starter relay wiring error often goes undetected for months until the wire actually melts inside its insulation jacket, creating an open circuit that prevents starting entirely. Many DIY installers make this mistake when they repurpose old wiring or attempt to save cost by using leftover cable from other projects.
Impact of Starter Relay Wiring Errors on Vehicle Performance
Immediate No-Start Conditions and Diagnostic Confusion
When a starter relay is wired incorrectly, the vehicle simply will not crank, regardless of battery voltage or starter motor condition. The owner hears a click or silence at the ignition, suspects a dead battery, and begins an expensive diagnostic chain. Many shops replace perfectly functional batteries, alternators, and starters before ever isolating the starter relay wiring as the root cause. This diagnostic delay happens because technicians test components in isolation without verifying starter relay connections first. A simple visual inspection of the starter relay wiring terminals would have solved the problem in minutes and cost nothing, yet it is often overlooked in favor of part replacement revenue streams.
Battery Drain and Parasitic Load Issues
A miswired starter relay can create parasitic battery drain that completely depletes your battery in days or even hours. If the solenoid coil inside your starter relay remains energized due to reversed control wiring, it draws steady current 24/7, causing battery voltage to fall to zero. The vehicle's electrical systems cannot function, fuel pumps fail to prime, and engine computers shut down. This starter relay wiring mistake creates a symptom pattern that mimics a failed alternator or defective battery, triggering unnecessary replacement of expensive components. Testing battery voltage while the engine is off will show rapid discharge if the starter relay solenoid is stuck energized from a wiring error.
Thermal and Fire Hazards from Incorrect Connections
The most dangerous consequence of starter relay wiring mistakes is the potential for under-hood fire. When massive battery current flows through loose connections, resistance generates extreme heat. A terminal connection on your starter relay that is loose by just 0.1 inch can reach temperatures exceeding 200 degrees Fahrenheit in seconds. Wire insulation melts, battery acid may spray, and dry components nearby ignite. Several vehicle fires each year trace back to improper starter relay wiring installations where technicians failed to secure connections with appropriate torque or failed to use proper crimp connectors. This fire risk makes starter relay wiring accuracy non-negotiable for safety-conscious vehicle owners and professional technicians.
Preventing Starter Relay Wiring Mistakes During Installation
Consulting OEM Documentation and Wiring Diagrams
Before touching a single wire on your starter relay installation, obtain the official manufacturer's wiring diagram for your specific vehicle year, make, and model. The diagram clearly labels every terminal on your starter relay, shows correct wire colors, specifies proper gauge, and identifies grounding locations. Technicians who skip this step and install by memory or assumption commit preventable starter relay wiring mistakes that compromise vehicle safety. Many modern vehicles use multiple starter relay configurations depending on engine size or transmission type, so generic assumptions fail constantly. Taking 10 minutes to print and reference the diagram prevents thousands of dollars in comeback repairs and customer frustration.
Verifying Connections with Multimeter Testing
After installing your starter relay, use a digital multimeter to verify continuity and voltage at each terminal before applying full ignition power. With the battery disconnected, set your multimeter to resistance mode and confirm continuity between battery positive and the starter motor terminal when the ignition control signal is applied. This test proves that your starter relay solenoid is functioning and that wires are properly connected. With the engine off and key in the run position, measure voltage at the starter motor terminal to confirm battery voltage appears there only during cranking. These verification tests catch starter relay wiring mistakes before they cause vehicle damage or safety hazards.
Securing All Terminals with Proper Torque and Corrosion Protection
Every connection on your starter relay must be tightened to the manufacturer's specified torque value using a calibrated torque wrench. This is not optional; finger-tight or 'pretty tight' creates the intermittent failures and connection degradation discussed earlier. After torquing, apply a thin coating of dielectric grease to each terminal to seal out moisture and prevent oxidation. This two-step process—proper torque plus corrosion protection—ensures your starter relay wiring remains reliable for the vehicle's lifetime. Many professional shops include this terminal finishing step as standard procedure, yet DIY installers frequently skip it, leading to comeback issues months later when corrosion builds up.
FAQ
What are the symptoms of a miswired starter relay?
A miswired starter relay typically produces a complete no-crank condition where the engine will not turn over at all, even if battery voltage is strong. You may hear a single click at the ignition, silence, or the sound of relays chattering rapidly. Some starter relay wiring errors cause immediate battery drain, leaving your battery completely dead within hours. In rare cases, you might smell burning wire insulation or see smoke from under the hood if connections are severely reversed or loose. If any of these symptoms appear immediately after starter relay installation, disconnect the battery immediately and inspect all terminal connections for correct orientation and secure seating before attempting another start.
Can a loose starter relay connection cause intermittent starting problems?
Yes, absolutely. A loose starter relay connection is one of the most common causes of intermittent no-start conditions that baffle vehicle owners. When a terminal is not fully seated or torqued, vibration gradually increases the gap between the connector and the terminal post. Electrical resistance rises, voltage drop increases, and eventually the connection opens completely. You might start your vehicle successfully one morning but fail to start it later in the day after road vibration has loosened the connection further. Inspecting your starter relay wiring connections every 12 months and re-torquing any loose terminals prevents this frustrating problem from developing.
How do I know if my starter relay wiring is safe?
A properly wired starter relay is completely safe and presents zero fire risk during normal operation. Verify safety by confirming that all terminal connections are finger-tight plus an additional quarter turn with a torque wrench, that wire insulation shows no signs of melting or discoloration, that no bare copper is exposed at any connection, and that the starter relay housing feels cool to the touch even during continuous engine cranking. Never smell burning rubber or insulation near your starter relay, and verify that battery voltage at the starter terminal appears only when actively cranking the engine, not continuously. If any of these safety checks fail, your starter relay wiring contains errors that require immediate professional correction.
