When your vehicle refuses to start and you hear only a clicking sound from under the hood, the culprit is often a malfunctioning starter solenoid. Understanding how to repair solenoid starter motor components can save you from being stranded on the roadside. The starter solenoid acts as a critical bridge between your ignition system and the starter motor, controlling the high-current flow needed to crank your engine. Professional mechanics and DIY enthusiasts alike need comprehensive knowledge of solenoid repair techniques to address these common automotive failures effectively.
Starter solenoid failures manifest through various symptoms that experienced technicians recognize immediately. The most common indicators include rapid clicking sounds when turning the ignition key, complete silence when attempting to start, or intermittent starting issues that worsen over time. These symptoms often occur due to worn contact points, corroded terminals, or internal coil failures within the solenoid assembly. Environmental factors such as extreme temperatures, moisture exposure, and electrical system fluctuations contribute significantly to solenoid degradation and eventual failure.
Understanding Starter Solenoid Construction and Operation
Internal Components and Electrical Pathways
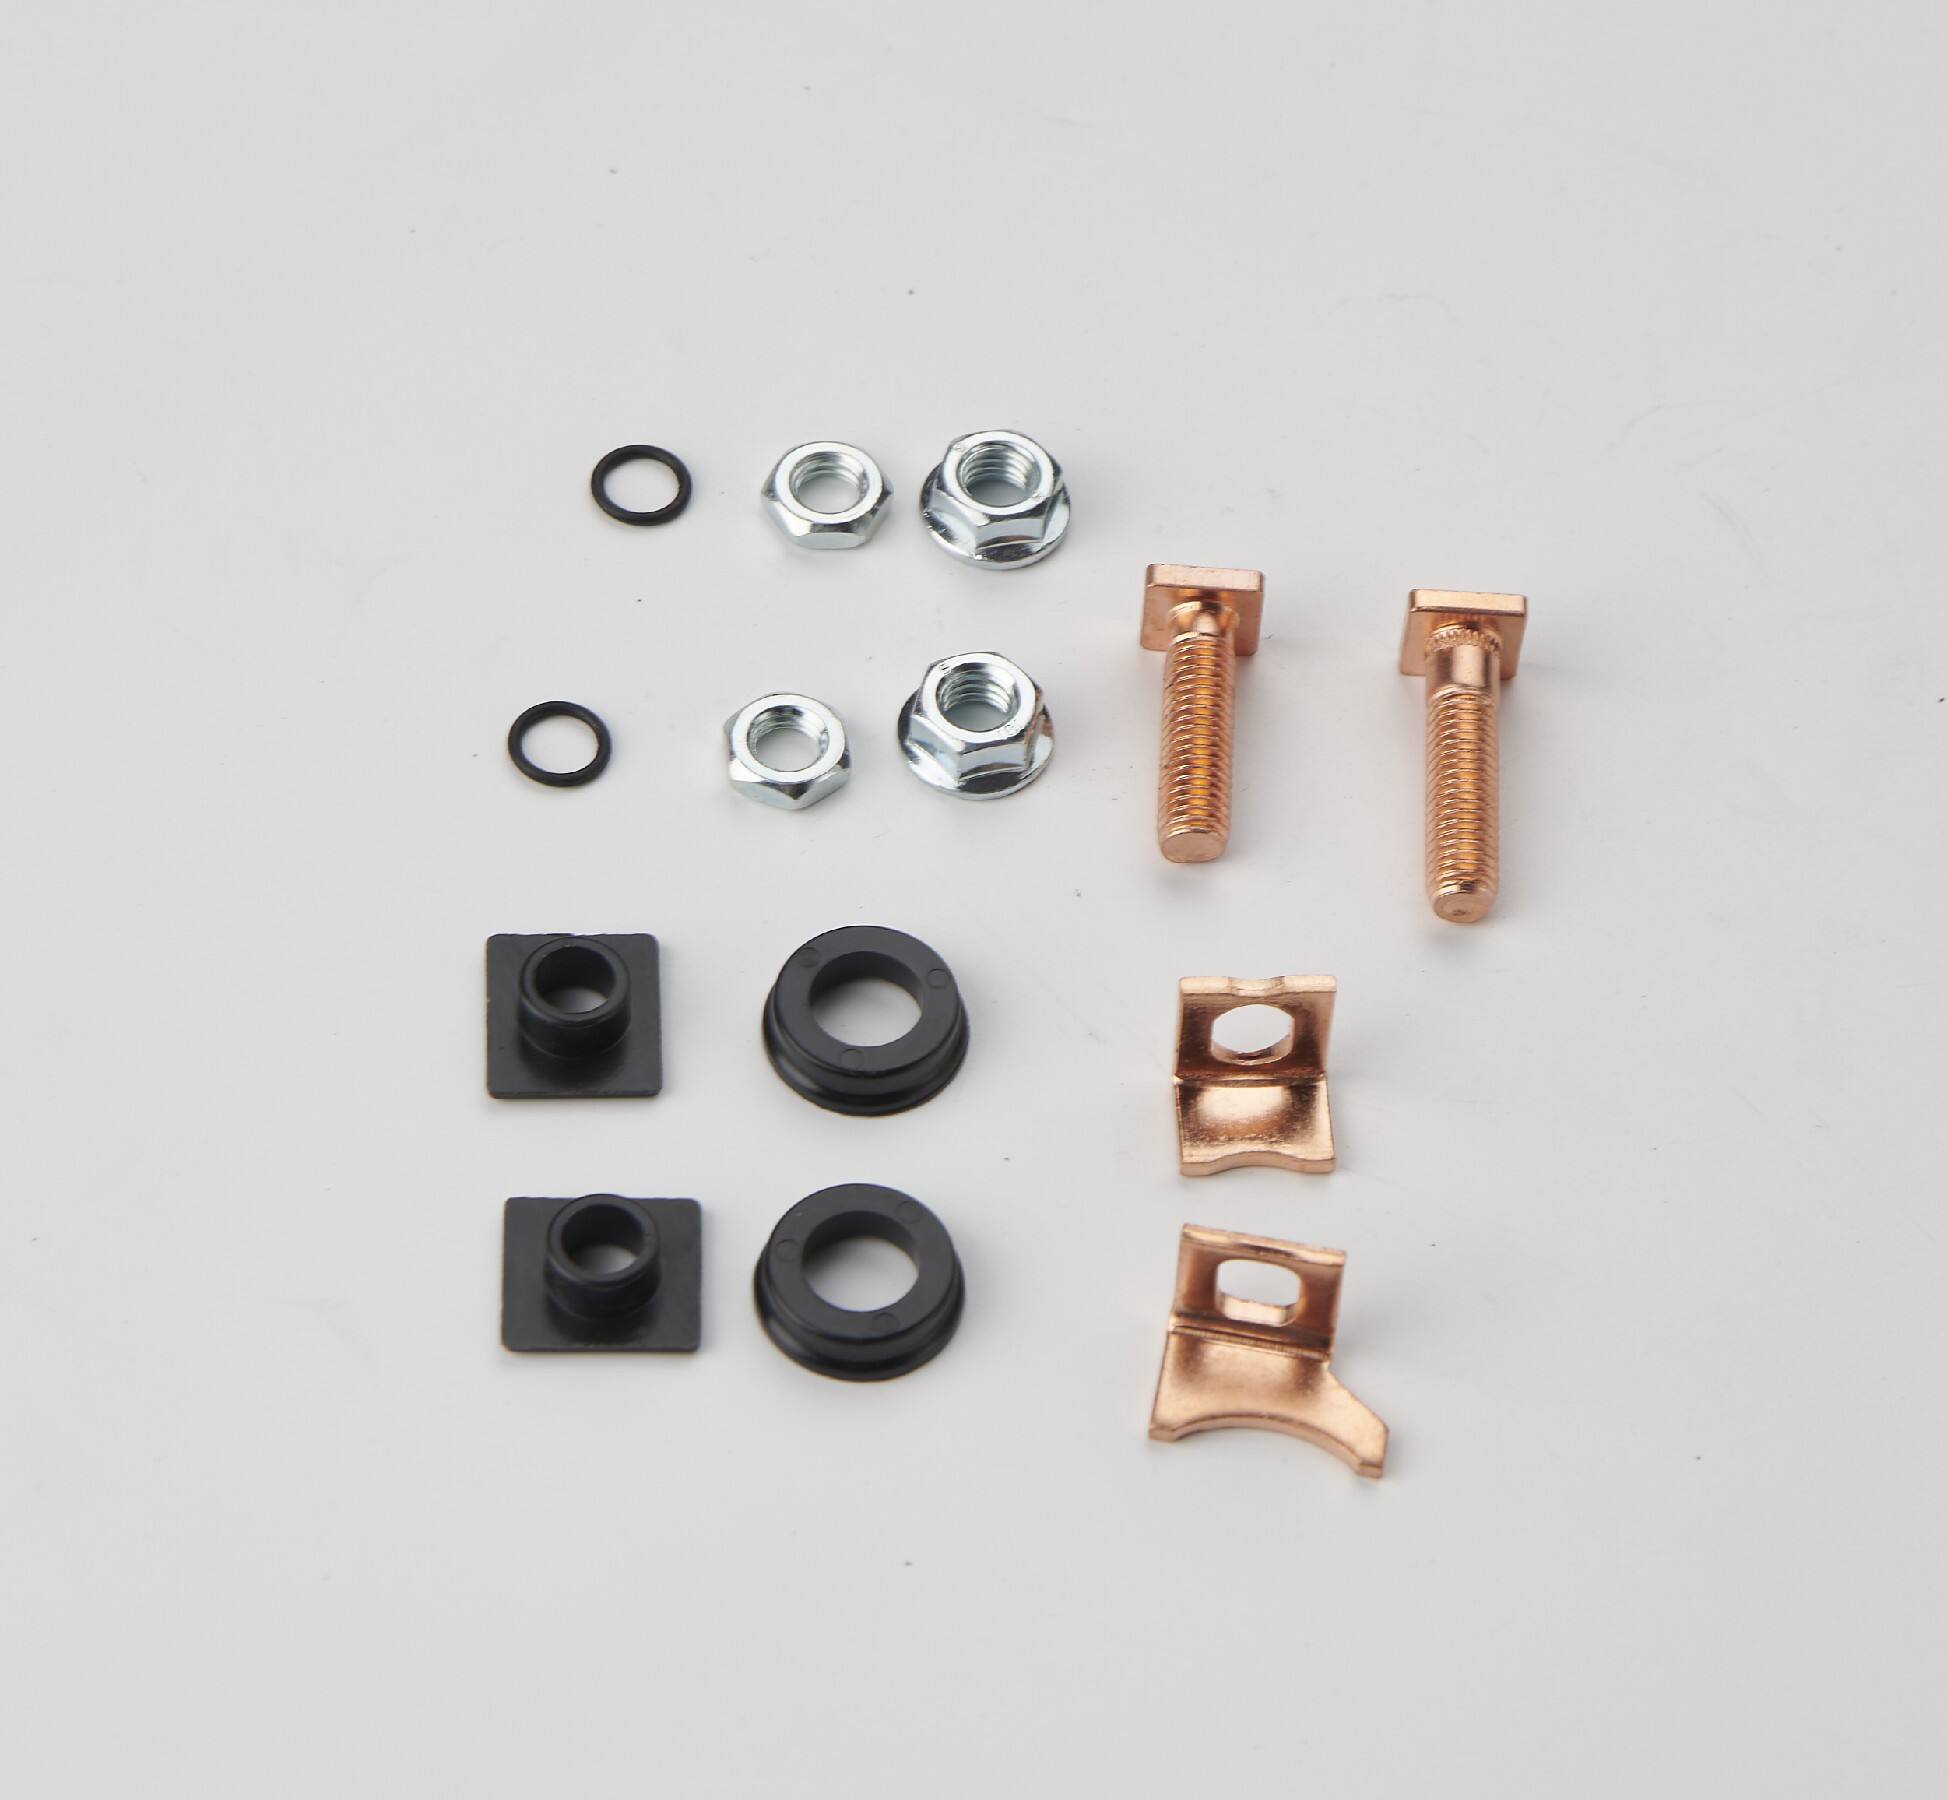
The starter solenoid contains several critical components that work together to engage the starter motor with the engine flywheel. The electromagnetic coil generates magnetic force when energized, pulling the plunger mechanism that closes the high-current contacts. This action simultaneously engages the starter drive gear with the flywheel ring gear while completing the electrical circuit between the battery and starter motor. Understanding this dual function is essential when attempting to repair solenoid starter motor assemblies, as both mechanical and electrical failures can occur independently or simultaneously.
The solenoid housing typically contains two separate windings: a pull-in winding and a hold-in winding that work together during the starting sequence. The pull-in winding draws higher current initially to overcome spring tension and move the plunger, while the hold-in winding maintains position with lower current consumption. This sophisticated design allows for reliable operation across varying voltage conditions and temperature ranges. Professional repair procedures must account for both windings when diagnosing solenoid malfunctions and determining appropriate repair strategies.
Common Failure Modes and Root Causes
Starter solenoid failures typically fall into several categories that experienced technicians can identify through systematic diagnosis. Contact point erosion represents the most frequent failure mode, occurring when repeated high-current switching creates pitting and material transfer between the main contacts. This degradation gradually increases contact resistance, leading to voltage drops that prevent adequate current flow to the starter motor. Eventually, the contacts may fail to close completely or weld together, requiring immediate repair intervention.
Coil failures present another significant category of solenoid malfunctions that require specialized repair techniques. Open circuits in either the pull-in or hold-in windings prevent proper solenoid operation, while short circuits can cause excessive current draw and rapid battery discharge. Insulation breakdown between windings or to ground can create intermittent failures that are particularly challenging to diagnose. Environmental contamination, including moisture, dirt, and corrosive substances, accelerates these failure modes and complicates repair procedures.
Diagnostic Procedures for Solenoid Assessment
Electrical Testing and Measurement Techniques
Accurate diagnosis forms the foundation of successful solenoid repair, requiring systematic electrical testing to identify specific failure modes. Multimeter measurements of coil resistance provide immediate insight into winding integrity, with typical values ranging from 1.2 to 1.8 ohms for pull-in windings and 2.5 to 5.0 ohms for hold-in windings. Significant deviations from manufacturer specifications indicate internal damage that may require complete replacement rather than repair. Voltage drop testing across solenoid terminals during cranking attempts reveals contact resistance issues that often respond to cleaning and reconditioning procedures.
Advanced diagnostic techniques include current draw analysis during solenoid operation, which reveals mechanical binding or excessive friction in the plunger assembly. Oscilloscope analysis of switching waveforms can identify timing issues and contact bounce that contribute to premature wear. These sophisticated diagnostic approaches help technicians determine whether to repair solenoid starter motor components or recommend complete replacement based on the extent of internal damage and expected service life.
Visual Inspection and Physical Assessment
Comprehensive visual inspection reveals external damage and contamination that affects solenoid performance and repairability. Terminal corrosion, case cracking, and mounting bracket damage indicate environmental stress that may have compromised internal components. Careful examination of wire connections and terminal integrity helps identify loose connections that create intermittent failures and accelerate contact wear. Documentation of physical damage guides repair decisions and helps establish realistic expectations for post-repair performance and longevity.
Disassembly inspection allows detailed assessment of internal component condition and wear patterns. Contact point examination reveals erosion extent, material transfer, and surface contamination that determine cleaning and reconditioning feasibility. Plunger movement smoothness and spring tension verification ensure proper mechanical operation after electrical repairs. This thorough assessment process enables informed decisions about repair scope and component replacement requirements for optimal long-term reliability.
Step-by-Step Repair Procedures
Safety Preparations and Tool Requirements
Safe solenoid repair requires proper preparation and specialized tools to prevent injury and ensure successful outcomes. Battery disconnection eliminates electrical hazards and prevents accidental starter engagement during repair procedures. Safety glasses, insulated gloves, and appropriate work lighting create a secure environment for detailed component handling. Organized workspace setup with proper ventilation prevents contamination introduction and facilitates efficient repair progression through systematic component processing.
Essential tools for solenoid repair include precision screwdrivers, contact cleaning materials, electrical testing equipment, and replacement seals or gaskets. Fine-grit abrasive compounds remove contact oxidation without excessive material removal, while specialized contact cleaners dissolve contaminants that interfere with proper electrical connection. Torque specifications and assembly sequences must be strictly followed to ensure proper mechanical function and prevent premature failure after repair completion.
Contact Cleaning and Reconditioning Methods
Contact point restoration represents the most common repair procedure for starter solenoids, requiring careful technique to avoid damage while removing oxidation and contamination. Fine abrasive materials remove surface corrosion and pitting while preserving the underlying contact material integrity. Proper cleaning technique involves light, even strokes across the contact surface to maintain flatness and ensure uniform contact pressure distribution. Chemical cleaning follows mechanical preparation to remove residual contaminants and provide optimal surface condition for reliable electrical connection.
Professional repair solenoid starter motor procedures include contact alignment verification and spring tension adjustment to ensure proper closing force and contact pressure. Plunger lubrication with appropriate materials prevents binding and ensures smooth operation throughout the service life. Assembly torque specifications must be carefully followed to prevent case distortion or contact misalignment that could cause premature failure or poor performance.
Advanced Repair Techniques and Component Replacement
Winding Repair and Insulation Restoration
Coil winding repairs require specialized techniques and materials to restore electrical integrity without compromising mechanical fit or thermal performance. Minor insulation damage may respond to careful application of electrical varnish or specialized repair compounds that restore dielectric strength. Wire splice repairs using appropriate gauge conductors and insulation materials can address localized damage without complete winding replacement. These advanced techniques require careful assessment of damage extent and realistic evaluation of repair durability compared to complete replacement costs.
Professional winding restoration involves careful unwinding of damaged sections, insulation cleaning, and rewinding with proper tension and layer spacing. Vacuum impregnation with electrical varnish ensures complete insulation coverage and mechanical stability of the repaired winding assembly. Testing procedures verify electrical characteristics and insulation integrity before final assembly and installation. These comprehensive repair procedures can extend solenoid service life significantly when performed by experienced technicians using appropriate materials and techniques.
Mechanical Component Restoration
Plunger assembly restoration addresses wear and corrosion that affects mechanical operation and contact alignment. Surface reconditioning removes oxidation and scoring while maintaining critical dimensional tolerances for proper fit and operation. Spring replacement or reconditioning ensures adequate closing force and consistent contact pressure throughout the service range. Bearing surface treatment with appropriate lubricants prevents binding and ensures smooth operation under varying temperature conditions.
Case repair procedures address cracking, thread damage, and mounting point wear that compromise structural integrity and environmental protection. Welding repairs require careful heat management to prevent damage to internal components and maintain case strength. Thread restoration using appropriate techniques ensures secure mounting and proper electrical connections. Seal replacement and gasket installation provide environmental protection and prevent contamination entry that accelerates component degradation and reduces service life.
Quality Control and Testing Procedures
Performance Verification Methods
Comprehensive testing validates repair effectiveness and ensures reliable long-term performance after solenoid restoration. Electrical testing includes resistance measurements, insulation testing, and operational current analysis to verify proper electrical characteristics. Mechanical testing evaluates plunger travel, engagement force, and return spring operation to ensure proper starter drive engagement and disengagement. These systematic verification procedures identify any remaining issues before installation and prevent field failures that could strand vehicle operators.
Load testing under simulated operating conditions provides realistic performance assessment and identifies potential issues that may not appear during bench testing. Temperature cycling tests reveal thermal expansion effects and insulation integrity under varying environmental conditions. Vibration testing ensures mechanical stability and electrical connection reliability under typical automotive operating conditions. Documentation of test results provides baseline data for future maintenance planning and warranty coverage.
Installation and Final Adjustments
Proper installation procedures ensure optimal performance and longevity of repaired solenoid assemblies in automotive applications. Mounting torque specifications prevent case distortion while ensuring secure attachment and proper electrical grounding. Wire routing and connection techniques minimize stress and prevent chafing that could cause premature failure. Environmental protection measures including proper sealing and drainage prevent moisture accumulation that accelerates corrosion and component degradation.
Final system testing with the repaired solenoid installed verifies proper integration with vehicle electrical systems and starter motor operation. Cranking speed measurement, current draw analysis, and engagement timing verification ensure optimal performance and identify any remaining system issues. Documentation of repair procedures and test results provides valuable information for future maintenance and warranty support. Regular follow-up inspections help identify potential issues before they cause complete system failure.
FAQ
How long does a repaired starter solenoid typically last
A properly repaired starter solenoid can last 50,000 to 100,000 miles depending on the quality of repair, operating conditions, and maintenance practices. Professional repairs using high-quality materials and proper techniques typically provide 70-80% of original equipment service life. Environmental factors such as extreme temperatures, moisture exposure, and electrical system conditions significantly impact longevity. Regular inspection and maintenance can identify developing issues before they cause complete failure and extend overall service life.
What tools are essential for emergency roadside solenoid repair
Essential emergency tools include a basic multimeter for electrical testing, insulated screwdrivers for safe disassembly, wire brushes for contact cleaning, and electrical contact cleaner spray. Additional useful items include jumper wires for bypass testing, basic hand tools for removal and installation, and electrical tape for temporary wire repairs. A flashlight or headlamp provides essential lighting for detailed work in low-light conditions. These basic tools enable most common emergency repairs to restore temporary functionality until professional service is available.
Can I repair a solenoid without specialized equipment
Basic solenoid repairs such as contact cleaning and terminal maintenance can be performed with standard automotive tools and materials. However, advanced repairs involving winding replacement, case welding, or precision adjustments require specialized equipment and training for safe and effective completion. Simple cleaning procedures and loose connection repairs often restore functionality without sophisticated tools. Complex internal damage typically requires professional service with proper testing equipment and replacement parts for reliable long-term repairs.
What are the signs that a solenoid cannot be repaired
Unrepairable solenoid damage includes case cracking that compromises structural integrity, severe contact erosion beyond reconditioning limits, and complete winding failures with extensive insulation breakdown. Corrosion damage that affects internal components and mounting threads may also indicate replacement necessity. Cost analysis comparing repair expenses to replacement costs often favors new component installation for extensively damaged units. Professional assessment helps determine repair feasibility and expected service life to guide appropriate repair or replacement decisions.