When your engine fails to start despite a fully charged battery and functional ignition system, the culprit often lies within the starter solenoid assembly. Understanding how to repair solenoid starter motor components can save both time and money while ensuring reliable vehicle operation. This comprehensive guide explores the essential techniques, tools, and procedures needed to diagnose and restore faulty starter solenoids across various automotive applications.
Modern vehicles rely heavily on electromagnetic switching systems to control high-current electrical circuits, with starter solenoids serving as critical components in engine starting sequences. These devices combine relay functionality with mechanical engagement mechanisms, creating a bridge between low-voltage control circuits and high-amperage starter motor operations. Professional technicians recognize that successful solenoid repairs require systematic approaches that address both electrical and mechanical failure modes.
Understanding Starter Solenoid Components and Function
Internal Architecture and Operating Principles
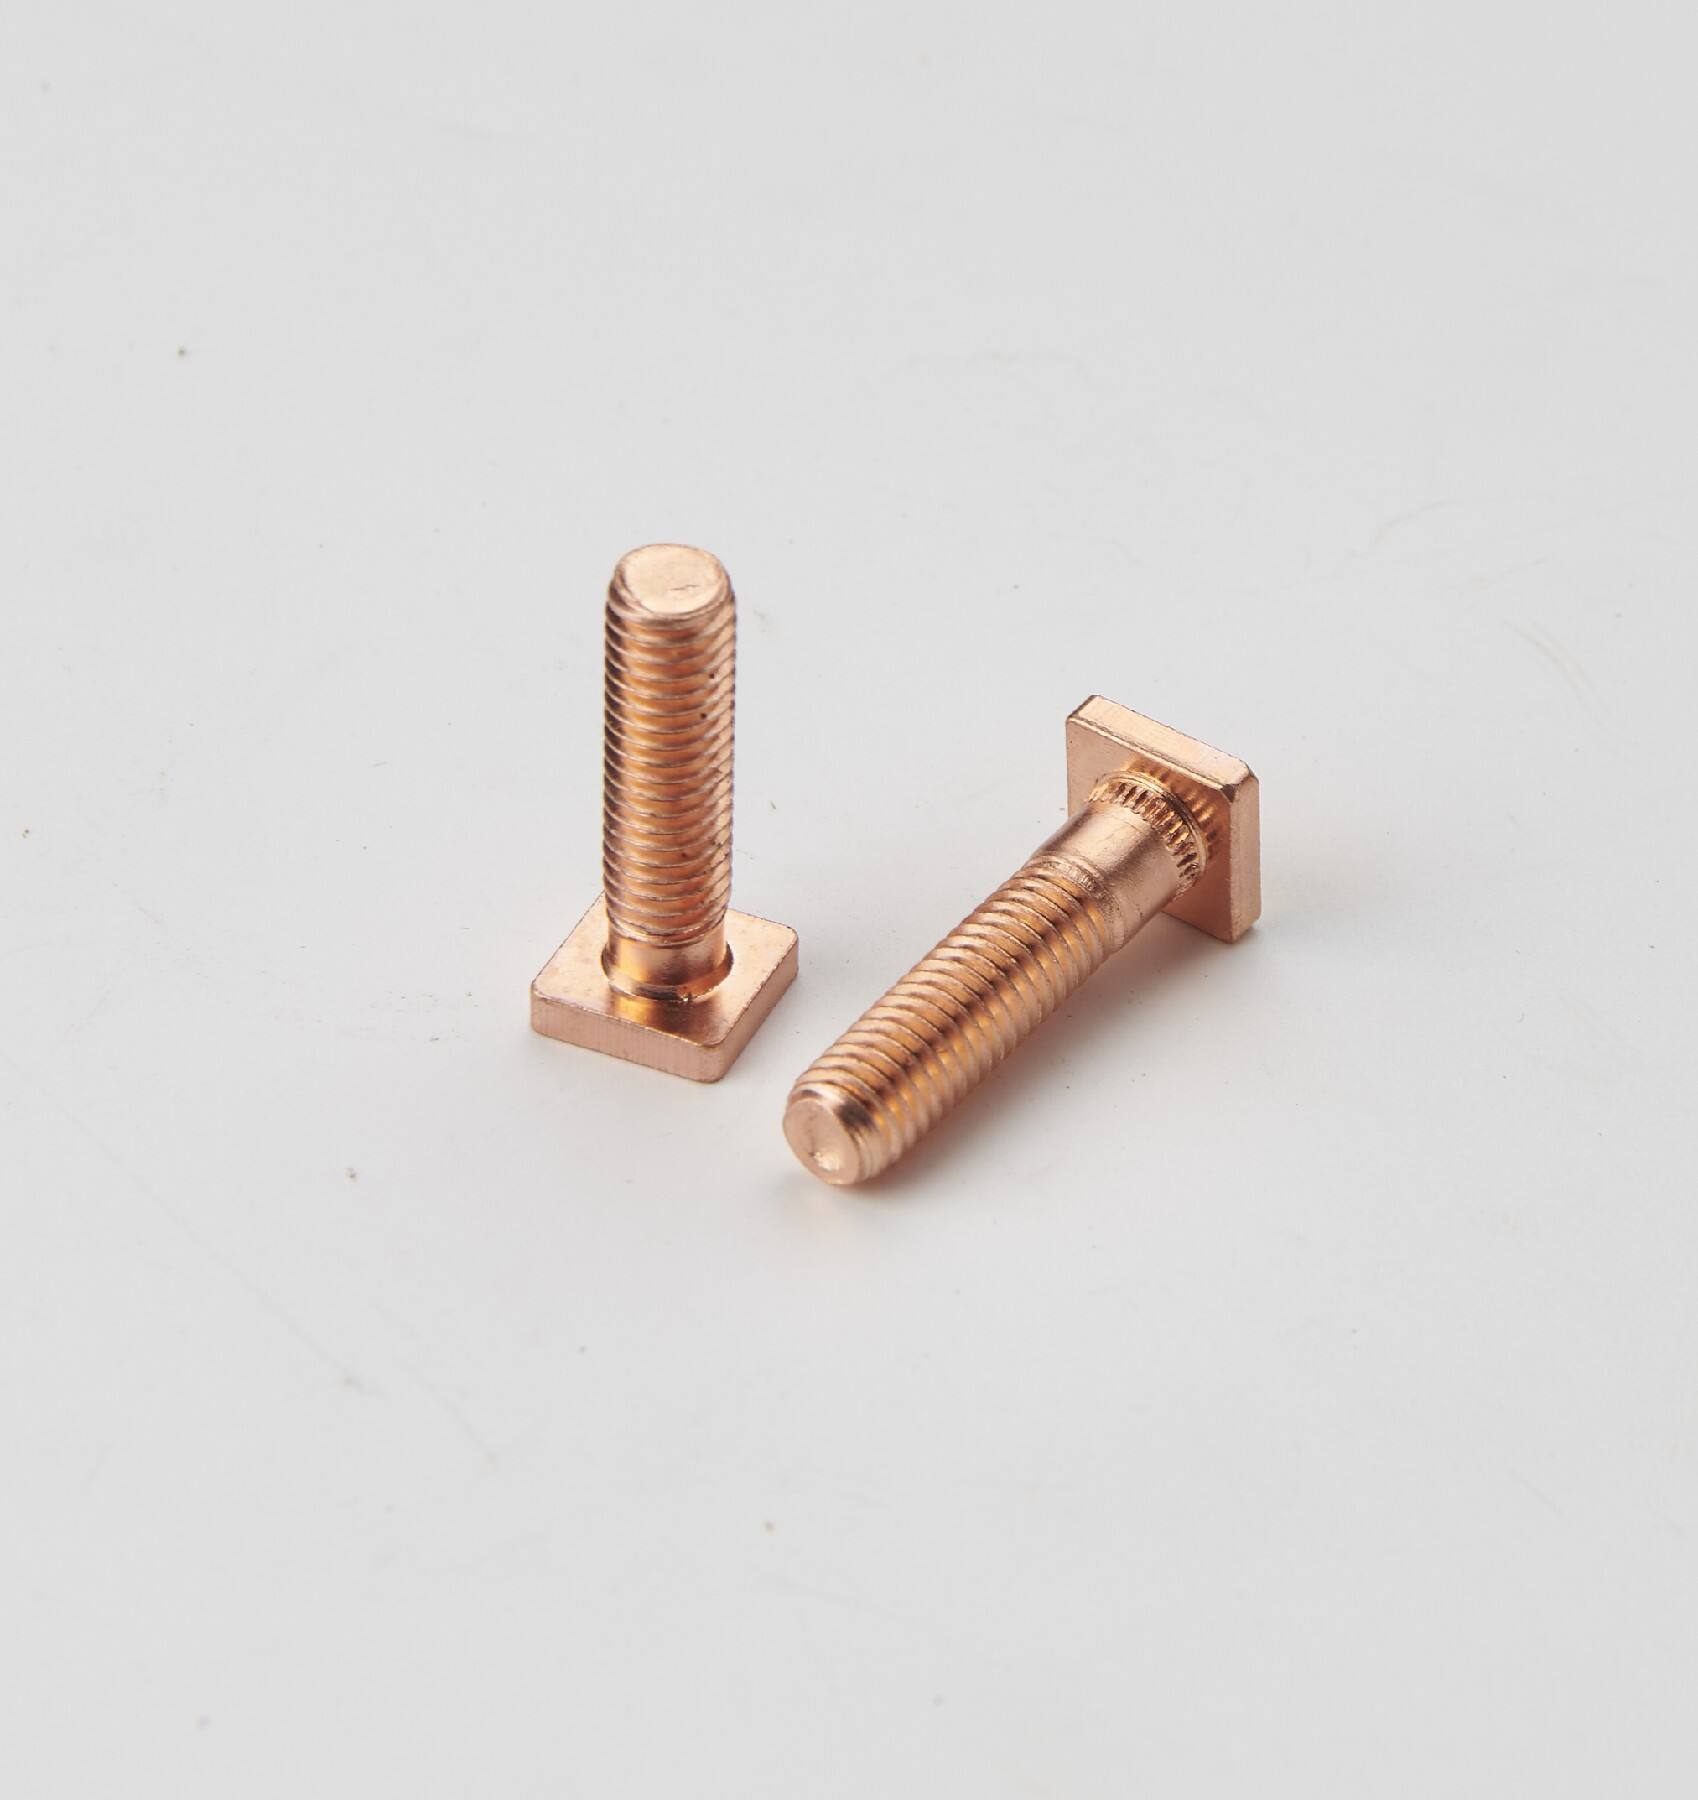
Starter solenoids contain several key components that work together to facilitate engine starting operations. The electromagnetic coil generates magnetic fields when energized, creating the force necessary to move internal plunger assemblies. These plungers simultaneously close high-current contacts and engage starter drive mechanisms through mechanical linkages. Understanding this dual-function design helps technicians identify specific failure points during diagnostic procedures.
The solenoid housing typically contains both pull-in and hold-in windings that serve different operational phases. Pull-in windings provide initial magnetic force to overcome spring tension and contact resistance, while hold-in windings maintain engagement with reduced current draw. This design optimization ensures reliable operation while minimizing electrical load on vehicle charging systems during extended cranking periods.
Common Failure Modes and Symptoms
Solenoid failures manifest through various symptoms that help guide diagnostic efforts. Clicking sounds without starter engagement often indicate internal contact burning or plunger binding issues. Complete silence when turning the ignition key suggests open circuit conditions in control windings or external wiring connections. Intermittent operation typically points to loose connections, corroded terminals, or partially failed electromagnetic components.
Heat-related failures represent another common failure category, particularly in high-temperature engine compartments or during repeated starting attempts. Excessive heat causes insulation breakdown in electromagnetic windings, leading to short circuits or reduced magnetic field strength. Visual inspection often reveals discolored housings, melted terminals, or swollen components that indicate thermal damage requiring component replacement or specialized repair techniques.
Diagnostic Procedures for Solenoid Assessment
Electrical Testing Methods
Proper diagnosis begins with systematic electrical testing using appropriate measuring instruments. Digital multimeters provide accurate resistance measurements across solenoid windings, helping identify open circuits, short circuits, or abnormal resistance values. Typical pull-in winding resistance ranges from 0.5 to 1.5 ohms, while hold-in windings typically measure 2 to 5 ohms depending on specific vehicle applications and solenoid designs.
Voltage drop testing reveals connection quality and circuit integrity under load conditions. Connect the multimeter across solenoid terminals while operating the starter system, looking for excessive voltage drops that indicate corroded connections or undersized wiring. Healthy circuits should show minimal voltage loss, typically less than 0.5 volts across individual connections when carrying rated current loads.
Mechanical Function Verification
Mechanical testing focuses on plunger movement, contact engagement, and spring tension characteristics. Remove the solenoid from the starter assembly to access internal components safely. Manual plunger operation should feel smooth without binding or excessive friction. Spring tension should provide consistent return force without weakness or coil deformation that could affect engagement reliability.
Contact surface inspection reveals wear patterns, burning, or pitting that affects current-carrying capacity. Severely damaged contacts require replacement or resurfacing to restore proper electrical connection. Minor surface oxidation can often be cleaned using appropriate contact cleaners and fine abrasives, but deep pitting or melting damage necessitates component replacement for reliable long-term operation.
Step-by-Step Repair Procedures
Disassembly and Component Access
Begin solenoid disassembly by removing the unit from the starter motor assembly and disconnecting all electrical connections. Clean external surfaces thoroughly to prevent contamination of internal components during repair work. Most solenoids feature crimped or threaded housings that require specific tools for safe opening without damaging sealing surfaces or internal components.
Document component positions and orientation before complete disassembly to ensure proper reassembly. Internal springs, washers, and adjustment shims must be reinstalled in correct sequences to maintain proper operating characteristics. Photography during disassembly provides valuable reference material for complex assemblies with multiple adjustment points or calibration requirements.
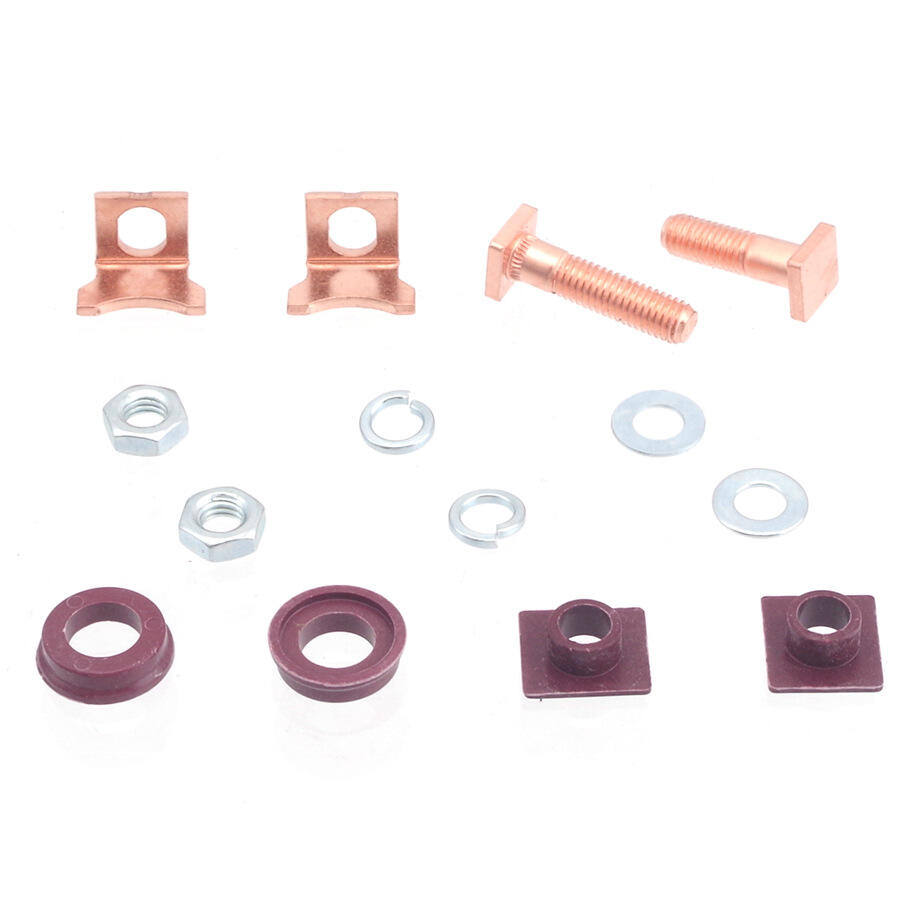
Contact Restoration and Replacement
Contact repair represents a critical aspect of successful starter solenoid restoration. Remove burned or pitted material using fine-grit sandpaper or contact files, maintaining original contact geometry and surface finish. Deep pitting may require silver soldering techniques to build up worn surfaces before final machining to specification dimensions.
New contact installation requires precise alignment and proper mounting torque to ensure reliable electrical connection. Use appropriate conductive greases or anti-seize compounds on threaded connections to prevent future corrosion while maintaining electrical conductivity. Contact spring tension adjustment affects both engagement force and contact pressure, requiring careful calibration according to manufacturer specifications.
Professional Repair Techniques and Best Practices
Winding Repair and Rewinding Methods
Electromagnetic winding repairs demand specialized knowledge of wire gauges, insulation materials, and winding patterns. When attempting to repair solenoid starter motor windings, use equivalent wire specifications and insulation classes to maintain original performance characteristics. Winding machines ensure consistent tension and layer distribution for optimal magnetic field generation.
Insulation restoration involves careful application of varnishes or impregnating compounds that provide moisture protection and mechanical stability. Proper curing temperatures and times ensure complete polymerization without damaging existing components. Testing procedures verify insulation integrity and winding resistance values before final assembly and installation.
Quality Control and Testing Validation
Comprehensive testing validates repair quality and ensures reliable long-term operation. Functional testing should include both no-load and loaded operation to verify electromagnetic performance under realistic conditions. Current draw measurements confirm proper winding function and identify potential efficiency improvements from repair work.
Endurance testing subjects repaired solenoids to repeated operating cycles that simulate real-world usage patterns. This testing reveals potential weakness in repairs or component selections that might not appear during initial functional verification. Professional repair facilities typically perform hundreds of test cycles before releasing repaired units for service installation.
Troubleshooting Common Repair Challenges
Intermittent Operation Issues
Intermittent solenoid operation often stems from thermal expansion effects, loose connections, or marginal component conditions that worsen under specific operating conditions. Temperature cycling tests help identify components that fail when heated or cooled beyond normal operating ranges. Connection integrity becomes particularly critical in high-vibration environments where mechanical stress can loosen terminal connections over time.
Electromagnetic interference from other vehicle systems can also cause intermittent operation, particularly in modern vehicles with multiple electronic control modules. Proper shielding and grounding techniques help isolate solenoid control circuits from interference sources while maintaining reliable operation across various operating conditions and electrical system loads.
Performance Optimization Strategies
Optimization efforts focus on improving response time, reducing current consumption, and extending operational life through design improvements and material upgrades. Contact material selection affects both electrical conductivity and wear resistance, with silver-based alloys offering superior performance in high-current applications compared to standard copper contacts.
Lubrication strategies for mechanical components require careful selection of materials that maintain properties across wide temperature ranges while providing long-term stability. Synthetic lubricants often outperform conventional greases in automotive applications due to superior temperature stability and resistance to contamination from engine compartment environments.
FAQ
How long does a typical starter solenoid repair take to complete
Complete starter solenoid repair typically requires 2-4 hours depending on the extent of damage and complexity of the specific unit. Simple contact cleaning and adjustment procedures can often be completed within 1-2 hours, while complete rewinding or major component replacement may extend repair time to 6-8 hours for complex assemblies requiring specialized equipment and procedures.
What tools are essential for professional solenoid repair work
Essential tools include digital multimeters for electrical testing, precision screwdrivers and wrenches for disassembly, contact files or sandpaper for surface preparation, and appropriate cleaning solvents for component preparation. Advanced repairs may require winding machines, insulation testers, and specialized fixtures for maintaining component alignment during assembly procedures.
Can all types of starter solenoids be successfully repaired
Most conventional electromagnetic starter solenoids can be repaired successfully when proper techniques and quality components are used. However, some modern integrated starter-generator systems or electronically controlled solenoids may require specialized equipment or proprietary components that make field repair impractical. Assessment of repair feasibility should consider both technical requirements and economic factors compared to replacement costs.
What safety precautions are necessary during solenoid repair procedures
Safety precautions include disconnecting battery power before beginning work, using appropriate personal protective equipment when handling chemicals or cleaning solvents, and ensuring proper ventilation when using varnishes or impregnating compounds. Electrical testing should follow lockout-tagout procedures to prevent accidental energization, and proper grounding techniques prevent static discharge damage to sensitive electronic components during repair work.