Replacing a faulty starter solenoid in your vehicle doesn't require professional mechanical expertise or expensive shop labor costs. This essential component plays a crucial role in your car's starting system, acting as the electrical bridge between your ignition switch and the starter motor. When this small but mighty device fails, your vehicle may experience intermittent starting issues, clicking sounds, or complete failure to start. Understanding how to diagnose and replace a starter solenoid can save you significant time and money while keeping your vehicle running smoothly.
Understanding Starter Solenoid Function and Components
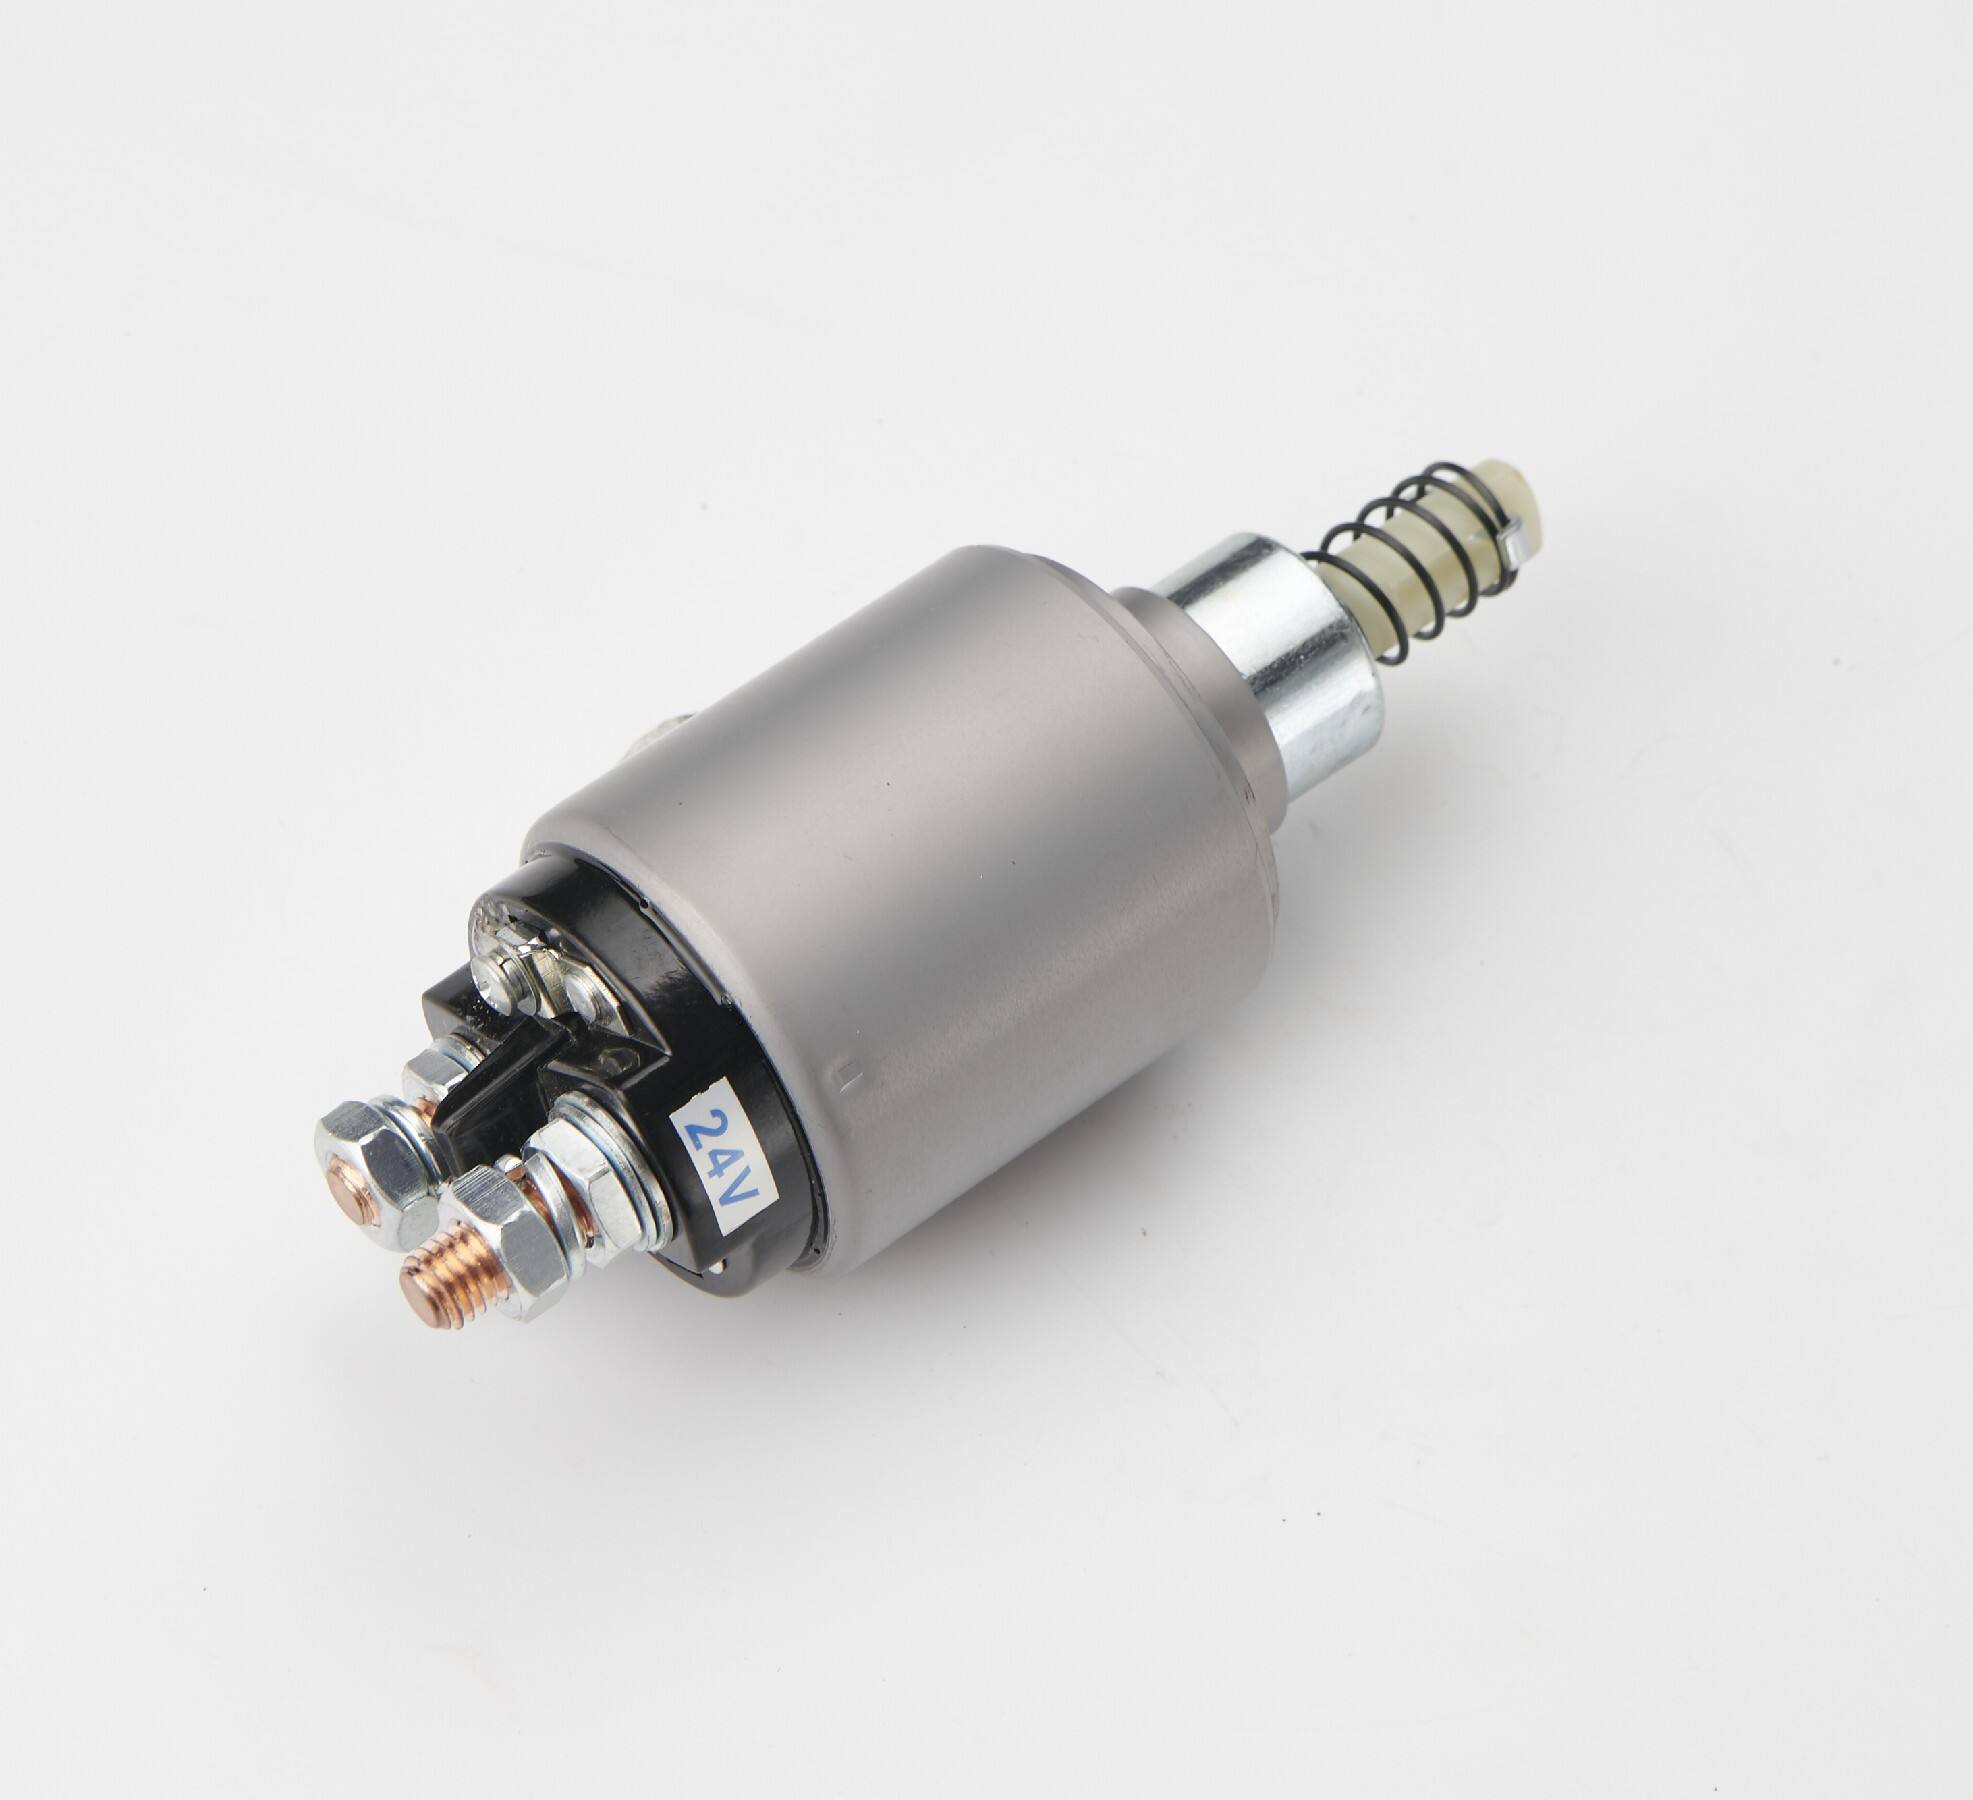
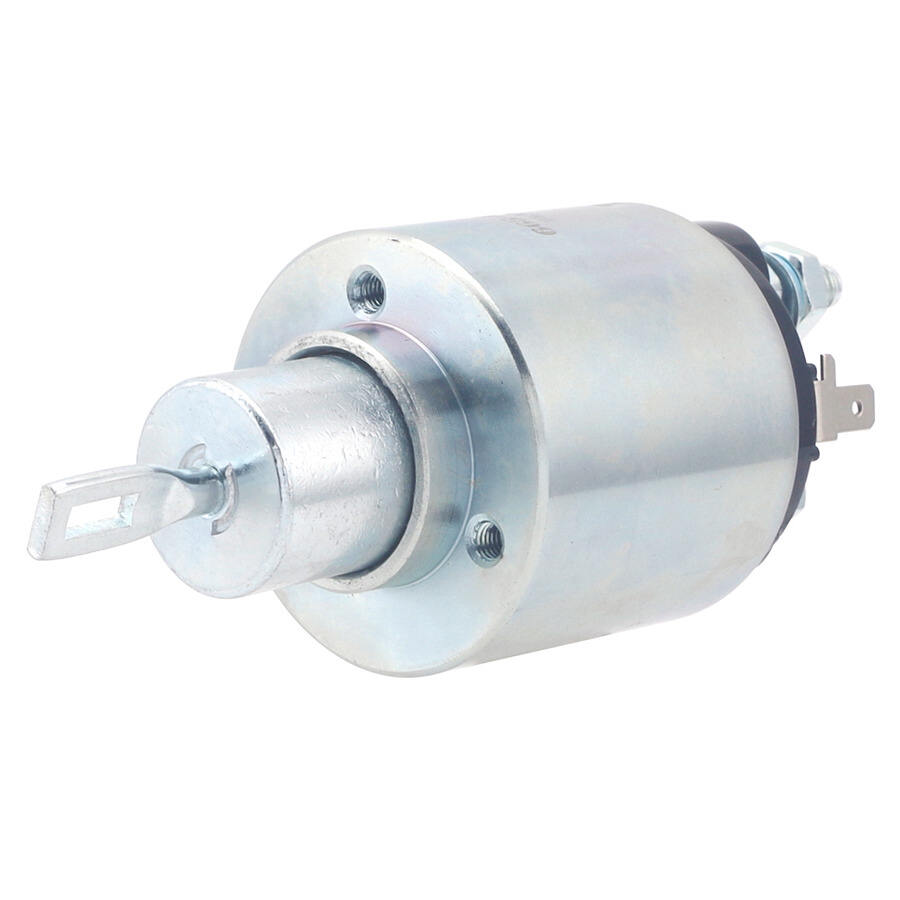
Basic Operating Principles
The starter solenoid operates as an electromagnetic switch that controls high-amperage current flow to the starter motor. When you turn your ignition key, a low-current signal activates the solenoid's electromagnetic coil, which pulls a plunger mechanism to close heavy-duty contacts. This action allows battery power to flow directly to the starter motor, engaging the engine's flywheel through the starter gear. The solenoid also pushes the starter drive gear into mesh with the flywheel ring gear, ensuring proper mechanical engagement during the starting process.
Most modern vehicles utilize either a remote-mounted solenoid or an integrated unit attached directly to the starter motor assembly. Remote solenoids are typically located in the engine compartment's fuse box or mounted separately on the firewall, while integrated units form part of the starter motor housing. Understanding your vehicle's specific configuration is essential before beginning any replacement procedure, as access methods and removal techniques vary significantly between these designs.
Common Failure Symptoms and Diagnosis
A failing starter solenoid exhibits several distinctive symptoms that help differentiate it from other starting system problems. The most common indication is a rapid clicking sound when attempting to start the engine, caused by the solenoid's inability to maintain proper contact closure under load. Some vehicles may experience intermittent starting, where the engine cranks normally on some attempts but fails completely on others. In severe cases, the solenoid may stick in the engaged position, causing the starter motor to continue running after the engine starts.
Proper diagnosis involves testing both the solenoid's control circuit and its main power contacts. Using a multimeter, you can verify that the solenoid receives proper voltage when the ignition switch is activated. Additionally, testing continuity through the main contacts while the solenoid is energized confirms whether the internal switching mechanism functions correctly. Visual inspection may reveal burned or corroded terminals, loose connections, or physical damage to the solenoid housing that indicates replacement necessity.
Essential Tools and Safety Preparations
Required Equipment and Materials
Successful starter solenoid replacement requires specific tools and materials to ensure safe, efficient completion of the task. Basic hand tools include various socket sizes, combination wrenches, screwdrivers, and needle-nose pliers for terminal manipulation. A multimeter proves invaluable for electrical testing, while a battery terminal puller may be necessary for older vehicles with corroded connections. Safety equipment such as safety glasses, work gloves, and appropriate clothing protects against electrical hazards and sharp edges.
The replacement solenoid must match your vehicle's specifications exactly, including terminal configuration, mounting style, and electrical ratings. Many automotive parts stores can cross-reference your vehicle's year, make, and model to ensure proper fitment. Additionally, having electrical contact cleaner, dielectric grease, and new terminal hardware available helps ensure reliable connections and long-term performance of the replacement component.
Safety Protocols and Workspace Preparation
Working with automotive electrical systems requires strict adherence to safety protocols to prevent injury and vehicle damage. Always disconnect the negative battery terminal first, followed by the positive terminal, to eliminate any possibility of electrical shock or accidental short circuits. Allow the engine to cool completely if recently operated, as starter components can retain significant heat that may cause burns during handling.
Prepare your workspace by ensuring adequate lighting and stable vehicle support if lifting is required. Park on level ground, engage the parking brake, and use wheel chocks for additional safety. Keep a fire extinguisher nearby when working with electrical components, as battery gases and potential sparks create fire hazards. Organize your tools systematically and have a clean workspace to prevent losing small components during disassembly.
Step-by-Step Replacement Procedure
Locating and Accessing the Solenoid
Begin the replacement process by consulting your vehicle's service manual to determine the exact location and mounting configuration of the starter solenoid. In vehicles with remote-mounted units, the solenoid typically resides in the engine compartment's main fuse box or mounts separately near the battery. For integrated designs, you'll need to access the starter motor assembly, which may require raising the vehicle or removing surrounding components for adequate clearance.
Document the existing wiring configuration with photographs before disconnecting any terminals, as proper reconnection is crucial for system operation. Most solenoids feature four terminals: two large posts for main power connections and two smaller terminals for control circuit wiring. Some designs incorporate additional terminals for accessories or bypass functions, so careful documentation prevents confusion during reassembly.
Removal and Installation Process
Remove electrical connections systematically, starting with the smallest gauge wires to prevent accidental contact with larger terminals. Use appropriate tools to avoid damaging terminal threads or wire connections, as replacement parts may be difficult to obtain. Clean all terminal surfaces with electrical contact cleaner and inspect for corrosion or damage that might affect the new solenoid's performance.
Install the replacement solenoid by reversing the removal process, ensuring proper terminal identification and secure mounting. Apply a thin layer of dielectric grease to all electrical connections to prevent future corrosion and ensure reliable current flow. Torque all mounting bolts and electrical connections to manufacturer specifications, as loose connections can cause premature failure or create safety hazards.
Testing and Troubleshooting
Functional Verification Methods
After completing the installation, systematic testing verifies proper solenoid operation and system integration. Reconnect the battery terminals, ensuring tight, clean connections that won't create voltage drops during high-current operations. Test the starting system multiple times, listening for smooth engagement without excessive clicking or grinding noises that might indicate mechanical problems.
Use your multimeter to verify proper voltage levels at various system points during starting attempts. The solenoid control terminals should receive full battery voltage when the ignition switch is activated, while the main power terminals should show continuity when the solenoid is energized. Any deviation from expected readings suggests installation errors or component defects requiring immediate attention.
Common Installation Issues and Solutions
Several common problems may arise during starter solenoid replacement that can affect system performance or reliability. Incorrect terminal connections represent the most frequent error, often resulting from inadequate documentation during disassembly or confusion between similar-appearing terminals. Always verify terminal identification using the vehicle's wiring diagram and ensure connections match the original configuration exactly.
Poor electrical connections due to corrosion, inadequate cleaning, or improper torque specifications can cause intermittent operation or complete system failure. Address these issues by thoroughly cleaning all connection points, applying appropriate protective compounds, and following manufacturer torque specifications precisely. If problems persist after installation, systematic electrical testing can identify remaining issues requiring correction.
Maintenance and Prevention Strategies
Routine Inspection and Care
Regular maintenance significantly extends starter solenoid service life and prevents unexpected failures that can leave you stranded. Inspect electrical connections monthly for signs of corrosion, looseness, or physical damage that might affect performance. Clean battery terminals and solenoid connections with baking soda solution to neutralize acid buildup, followed by fresh water rinsing and thorough drying.
Monitor starting system performance for early warning signs of potential solenoid problems. Slower cranking speeds, intermittent engagement, or unusual sounds during starting indicate developing issues that benefit from immediate attention. Addressing minor problems promptly prevents more expensive repairs and ensures reliable vehicle operation when you need it most.
Environmental Protection and Longevity
Protecting the starter solenoid from environmental factors helps maximize its operational lifespan and maintain consistent performance. Apply dielectric grease to all electrical connections during installation and reapply annually to prevent moisture infiltration and corrosion development. Ensure proper drainage around the solenoid mounting area to prevent water accumulation that can accelerate component deterioration.
Consider upgrading to heavy-duty solenoid designs in high-stress applications or extreme environmental conditions. Marine environments, frequent towing, or extreme temperature variations can exceed standard component capabilities, making premium replacements a worthwhile investment. Quality components often provide superior reliability and longer service intervals compared to economy alternatives.
FAQ
How long does a typical starter solenoid last?
Most starter solenoids provide reliable service for 100,000 to 150,000 miles under normal operating conditions. However, service life varies significantly based on environmental factors, usage patterns, and maintenance quality. Vehicles in harsh climates or those subjected to frequent short trips may experience shorter solenoid life due to increased thermal cycling and moisture exposure. Regular maintenance and proper electrical system care can extend service life considerably beyond average expectations.
Can I replace a starter solenoid without removing the starter motor?
The ability to replace a starter solenoid independently depends entirely on your vehicle's design configuration. Remote-mounted solenoids can typically be replaced without disturbing the starter motor, requiring only electrical disconnection and mounting bolt removal. However, integrated solenoids require complete starter motor removal for access, making the job more complex and time-consuming. Consult your vehicle's service manual to determine the specific configuration and plan accordingly.
What causes starter solenoids to fail prematurely?
Several factors contribute to premature starter solenoid failure, with electrical system problems being the most common culprit. Weak batteries force solenoids to work harder, generating excessive heat that damages internal components. Poor electrical connections create voltage drops that prevent proper solenoid operation, while corrosion accelerates contact deterioration. Additionally, using the starter for extended periods or attempting to start engines with mechanical problems can overload solenoids beyond their design capabilities.
Is it safe to drive with a partially functioning starter solenoid?
Driving with a partially functioning starter solenoid is not recommended, as complete failure can occur without warning and leave you stranded in potentially dangerous situations. Intermittent operation often worsens rapidly, particularly in cold weather when electrical systems face additional stress. Additionally, a malfunctioning solenoid may damage other starting system components through improper operation, creating more expensive repair requirements. Replace questionable solenoids promptly to ensure reliable transportation and prevent secondary damage to related components.