 EN
EN


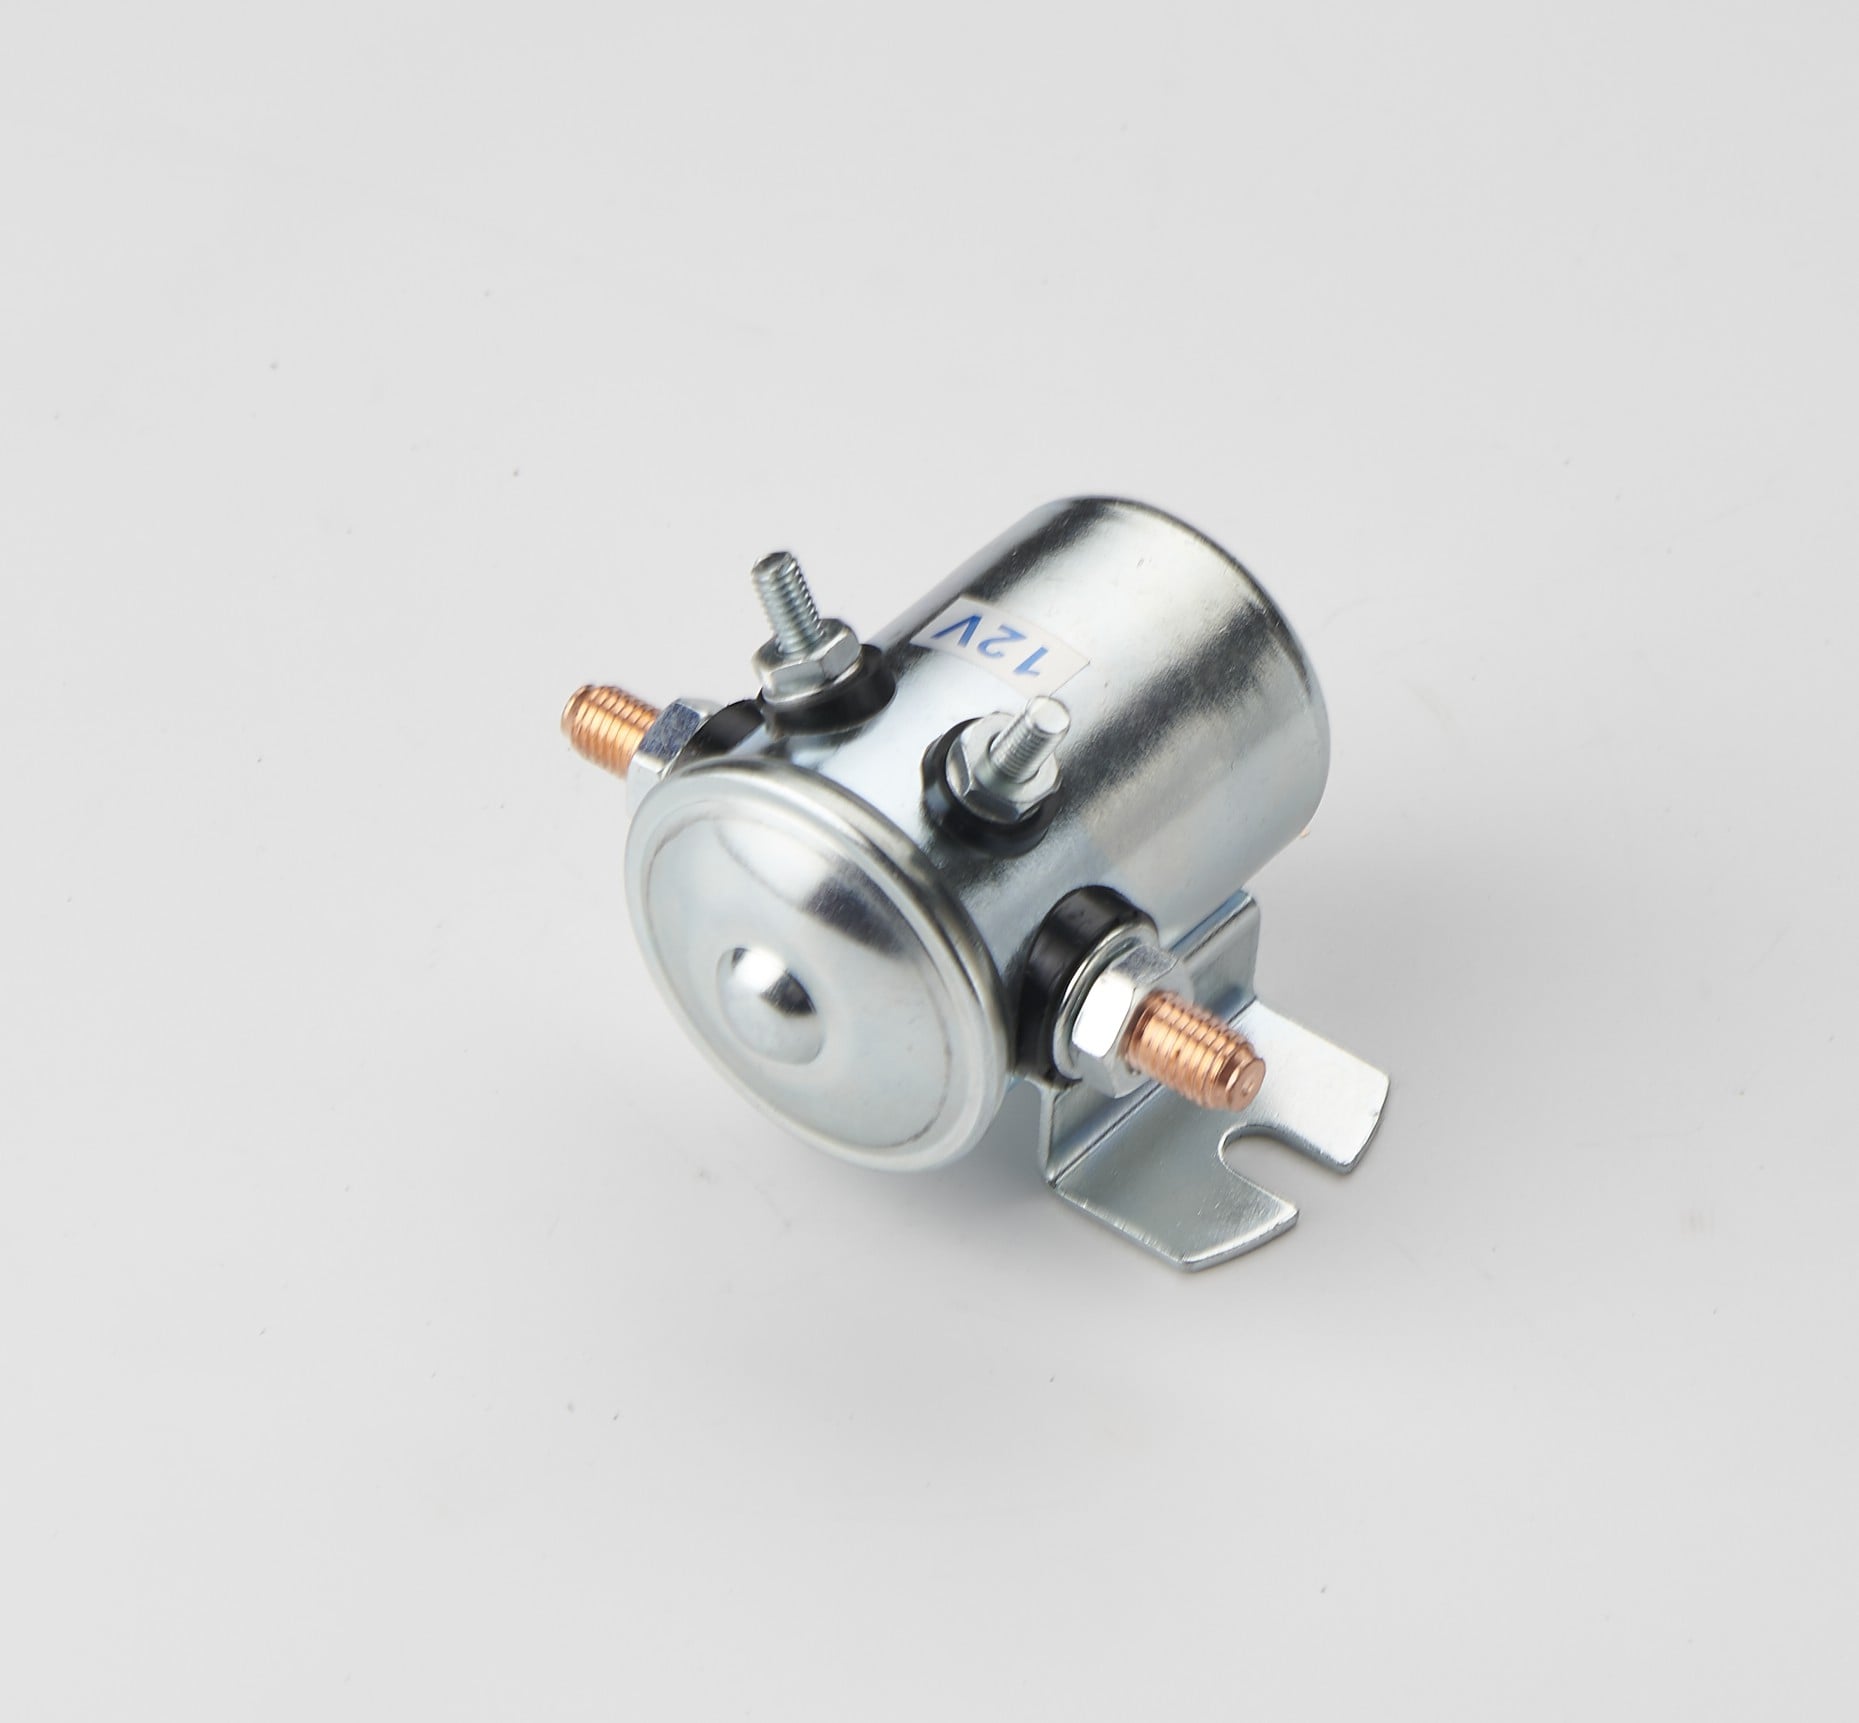
A malfunctioning starter relay can leave you stranded with a vehicle that refuses to start, creating frustration and potential safety hazards. Understanding how to identify and replace a faulty starter relay is an essential skill for any vehicle owner looking to maintain their car's reliability. The starter relay serves as the critical bridge between your ignition switch and the starter motor, controlling the high-current flow needed to crank your engine and bring it to life.
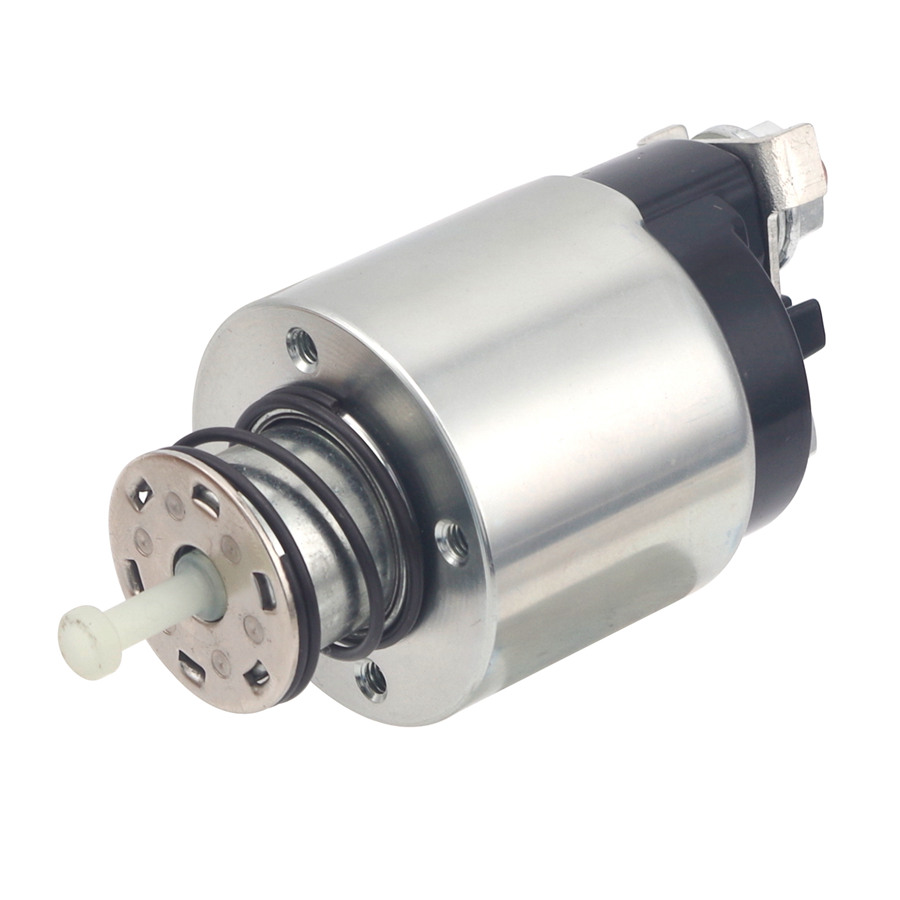
When your starter relay begins to fail, you'll notice distinct symptoms that indicate immediate attention is required. Common signs include clicking sounds when turning the key, intermittent starting problems, or complete failure to engage the starter motor. These issues often occur gradually, giving you warning signs before total failure occurs. Recognizing these symptoms early can prevent you from being stranded and allow you to address the problem proactively.
Modern vehicles rely heavily on electrical components, and the starter relay plays a pivotal role in the starting system's operation. This small but mighty component manages the electrical current flow from your battery to the starter motor, ensuring smooth engine cranking every time you turn the ignition key. Without a properly functioning starter relay, even a healthy battery and starter motor cannot work together effectively to start your engine.
Understanding Starter Relay Function and Location
Basic Starter Relay Operation
The starter relay operates as an electromagnetic switch that controls the high-amperage current required to operate your vehicle's starter motor. When you turn the ignition key to the start position, a low-current signal activates the starter relay coil, which then closes the relay contacts to complete the circuit between the battery and starter motor. This design protects your ignition switch from handling the heavy current load directly, extending its lifespan and improving system reliability.
Inside the starter relay housing, you'll find an electromagnetic coil, a set of contacts, and a spring mechanism. The coil creates a magnetic field when energized, pulling the contacts together to complete the circuit. When the ignition key returns to the run position, the coil de-energizes, and the spring pulls the contacts apart, breaking the circuit and stopping current flow to the starter motor. This simple yet effective design has proven reliable across millions of vehicles worldwide.
Common Starter Relay Locations
Most vehicles house the starter relay within the engine compartment fuse box, also known as the power distribution center. This location provides easy access for maintenance while protecting the relay from moisture and debris. The relay box typically contains multiple relays and fuses, with each component clearly labeled for identification purposes. Some manufacturers place additional starter relay components in the interior fuse panel, particularly in luxury vehicles with complex electrical systems.
To locate your specific starter relay, consult your vehicle's owner's manual or look for a diagram on the inside of the fuse box cover. The starter relay is usually larger than standard fuses and may be color-coded or numbered for easy identification. In some vehicles, the starter relay shares space with other high-current relays such as the air conditioning compressor relay or cooling fan relay, so careful identification is essential before removal.
Diagnosing Starter Relay Problems
Visual Inspection Techniques
Begin your starter relay diagnosis with a thorough visual inspection of the component and its surrounding connections. Remove the relay from its socket and examine the terminals for signs of corrosion, burning, or physical damage. Corroded terminals appear green or white and can prevent proper electrical contact, while burned terminals show dark discoloration and may have a distinct odor. Physical damage such as cracks in the relay housing can allow moisture intrusion, leading to internal component failure.
Inspect the relay socket connections for similar signs of damage or corrosion. Clean terminals using electrical contact cleaner and a small wire brush to ensure optimal conductivity. Check the relay housing for any signs of overheating, which may indicate excessive current draw or poor connections. A damaged starter relay housing may show melting, warping, or discoloration that suggests internal component failure requiring immediate replacement.
Electrical Testing Methods
Professional technicians use multimeters to test starter relay functionality, but simple swap testing can be equally effective for most vehicle owners. If your vehicle has multiple identical relays in the fuse box, try swapping the suspected starter relay with a known good relay of the same type. Start the vehicle after the swap – if the problem disappears, you've identified a faulty starter relay that needs replacement.
For more precise testing, use a multimeter to check continuity across the relay contacts. With the relay removed from the vehicle, apply 12 volts to the coil terminals and listen for an audible click. The relay should produce a distinct clicking sound when energized, and the multimeter should show continuity across the main contacts. If the relay fails to click or doesn't show continuity, replacement is necessary to restore proper starting system function.
Step-by-Step Starter Relay Replacement
Preparation and Safety
Before beginning any electrical work on your vehicle, ensure the engine is completely cool and the ignition key is removed from the vehicle. Disconnect the negative battery terminal to prevent accidental short circuits during the replacement process. This safety measure protects both you and your vehicle's electrical system from potential damage. Keep your workspace clean and organized, with all necessary tools within easy reach.
Gather the required tools including needle-nose pliers for relay removal, electrical contact cleaner, and a replacement starter relay that matches your vehicle's specifications. Wear safety glasses to protect your eyes from debris and chemical splashes. If working in low-light conditions, use a flashlight or work light to clearly see the fuse box components and ensure proper identification of the starter relay location.
Removal and Installation Process
Locate the starter relay in your vehicle's fuse box using the diagram provided on the cover or in your owner's manual. Grasp the relay firmly and pull straight up with steady pressure to remove it from its socket. Some relays may require gentle rocking motion to break the connection, but avoid excessive force that could damage the socket or surrounding components. If the relay feels stuck, check for any retaining clips or locking mechanisms that may need to be released first.
Before installing the new starter relay, compare it carefully with the old unit to ensure identical specifications and terminal configuration. Clean the relay socket with electrical contact cleaner and allow it to dry completely. Insert the new relay into the socket, ensuring proper alignment with the terminal pins. Press down firmly until the relay seats completely in the socket, with no gaps visible between the relay base and socket housing. The relay should fit snugly without forcing or excessive pressure.
Testing and Verification
Initial Functionality Check
After installing the new starter relay, reconnect the battery negative terminal and perform an initial function test. Turn the ignition key to the start position while listening for any unusual sounds from the starter motor or electrical system. The engine should crank normally without hesitation, clicking, or grinding noises. If the starter engages properly and the engine starts smoothly, the replacement has been successful.
Pay attention to the starter motor engagement timing and sound quality during the test. A properly functioning starter relay should provide immediate engagement when the key reaches the start position, with no delay or intermittent operation. The starter motor should disengage cleanly when the key returns to the run position, without continued engagement or grinding sounds that could indicate other starting system problems.
Long-term Performance Monitoring
Monitor your vehicle's starting performance over the following weeks to ensure the new starter relay continues to function properly. Keep track of any changes in starting behavior, including cranking speed, engagement timing, or unusual sounds. A quality starter relay should provide consistent, reliable operation under all normal driving conditions and temperature variations.
Document the replacement date and mileage for future maintenance reference. Most starter relay components have excellent longevity when properly installed and maintained, but keeping records helps identify patterns if premature failure occurs. Regular inspection of the fuse box and electrical connections can prevent many starter relay problems before they cause starting system failures.
Preventive Maintenance and Best Practices
Regular Inspection Schedule
Incorporate starter relay inspection into your regular vehicle maintenance routine, checking the component every six months or during oil changes. Look for signs of corrosion, loose connections, or physical damage that could affect performance. Clean the fuse box area regularly to prevent debris accumulation that can interfere with proper relay operation or cause moisture retention leading to corrosion.
During routine inspections, verify that all relays are properly seated in their sockets and that the fuse box cover fits securely. Loose covers can allow moisture and debris entry, creating conditions that promote relay failure. Check surrounding components for signs of overheating or damage that could affect the starter relay's operating environment and longevity.
Quality Component Selection
When replacing a starter relay, choose high-quality components from reputable manufacturers to ensure reliable performance and longevity. OEM or equivalent parts typically offer the best fit and compatibility with your vehicle's electrical system. Avoid extremely cheap aftermarket relays that may lack proper quality control or use substandard materials that could fail prematurely.
Consider environmental factors when selecting replacement parts, particularly if your vehicle operates in harsh conditions such as extreme temperatures, high humidity, or dusty environments. Some premium starter relay designs offer enhanced environmental protection and extended service life under challenging operating conditions. Investing in quality components can prevent repeated failures and reduce long-term maintenance costs.
FAQ
How long does a starter relay typically last
Most starter relay components last between 100,000 to 150,000 miles under normal operating conditions, though this can vary based on usage patterns and environmental factors. Vehicles with frequent start-stop cycles or those operating in extreme temperatures may experience shorter relay life. Regular maintenance and clean electrical connections can help maximize starter relay longevity and prevent premature failure.
Can I drive with a failing starter relay
While you might be able to start your vehicle intermittently with a failing starter relay, it's not recommended to continue driving without replacement. A deteriorating starter relay can fail completely without warning, potentially leaving you stranded. Additionally, a faulty relay may cause excessive current draw or erratic operation that could damage other starting system components, leading to more expensive repairs.
What causes starter relay failure
Common causes of starter relay failure include normal wear from repeated cycling, corrosion from moisture exposure, excessive heat from poor ventilation, and voltage spikes from charging system problems. Manufacturing defects, physical damage from vibration, and contamination from oil or debris can also contribute to premature failure. Maintaining clean electrical connections and addressing charging system issues promptly can help prevent many relay failures.
Are all starter relay components interchangeable between vehicles
Starter relay components are not universally interchangeable, as different vehicles require specific voltage ratings, current capacities, and terminal configurations. Using an incorrect relay can result in poor performance, electrical damage, or safety hazards. Always verify the part number and specifications match your vehicle's requirements exactly, consulting your owner's manual or a qualified parts specialist to ensure proper compatibility and safe operation.
