When your vehicle fails to start, the culprit often lies within the starter system, specifically requiring you to repair solenoid starter motor components that have worn down over time. Understanding the intricacies of solenoid repair can save you hundreds of dollars in professional mechanic fees while giving you the satisfaction of mastering an essential automotive skill. The starter solenoid serves as the critical bridge between your ignition switch and the starter motor, making its proper function absolutely vital for reliable vehicle operation.
Professional automotive technicians frequently encounter solenoid-related starting issues, with statistics showing that approximately thirty percent of all no-start conditions stem from faulty solenoid operations. The electromagnetic switch mechanism within the solenoid can deteriorate due to repeated thermal cycling, corrosion buildup, or mechanical wear on the contact points. Home mechanics who learn to repair solenoid starter motor assemblies effectively can address these common failures without requiring specialized garage equipment or extensive automotive training backgrounds.
Understanding Solenoid Starter Motor Components
Internal Electromagnetic Mechanisms
The electromagnetic coil within the starter solenoid generates the magnetic field necessary to engage the starter drive gear with the engine flywheel. This coil consists of hundreds of copper wire turns wrapped around a ferromagnetic core, creating a powerful electromagnet when energized by battery current. When you attempt to repair solenoid starter motor units, understanding this electromagnetic principle helps diagnose whether coil resistance measurements fall within acceptable parameters or indicate internal wire breakage.
Modern solenoids incorporate both pull-in and hold-in windings that work together to provide initial engagement force followed by sustained holding power. The pull-in winding draws higher current initially to overcome spring tension and move the plunger, while the hold-in winding maintains position with lower current draw. Professional repair procedures for solenoid starter motor assemblies always include testing both winding circuits independently to isolate specific failure modes.
Contact Point Assembly Design
Heavy-duty copper contacts within the solenoid handle the substantial current flow required to energize the starter motor, typically ranging from one hundred to three hundred amperes depending on engine size. These contacts experience significant electrical arcing during each engagement cycle, gradually eroding the contact surfaces and increasing electrical resistance over time. Learning to repair solenoid starter motor contact assemblies involves understanding proper gap measurements, surface conditioning techniques, and replacement procedures for severely damaged components.
The spring-loaded contact design ensures positive electrical connection while allowing for thermal expansion and minor vibration absorption during engine operation. Contact point inspection reveals common failure patterns including pitting, corrosion, and mechanical deformation that prevent proper electrical continuity. Successful solenoid repairs require careful attention to contact alignment, spring tension specifications, and proper torque values during reassembly procedures.
Diagnostic Techniques for Solenoid Failures
Electrical Testing Procedures
Multimeter testing represents the most reliable method to diagnose solenoid electrical faults before attempting to repair solenoid starter motor assemblies in your home garage. Begin by measuring battery voltage at the solenoid input terminal with the ignition switch activated, ensuring adequate power supply reaches the electromagnetic coil. Voltage drop testing across solenoid terminals during cranking attempts reveals internal resistance problems that indicate contact point deterioration or coil winding failures.
Continuity testing between solenoid terminals with the unit removed from the vehicle provides definitive proof of internal circuit integrity. Professional technicians measure coil resistance values and compare readings against manufacturer specifications, typically ranging from two to five ohms for most automotive applications. Advanced diagnostic procedures include amperage draw testing during solenoid operation to identify mechanical binding or excessive friction within the plunger assembly mechanism.
Mechanical Inspection Methods
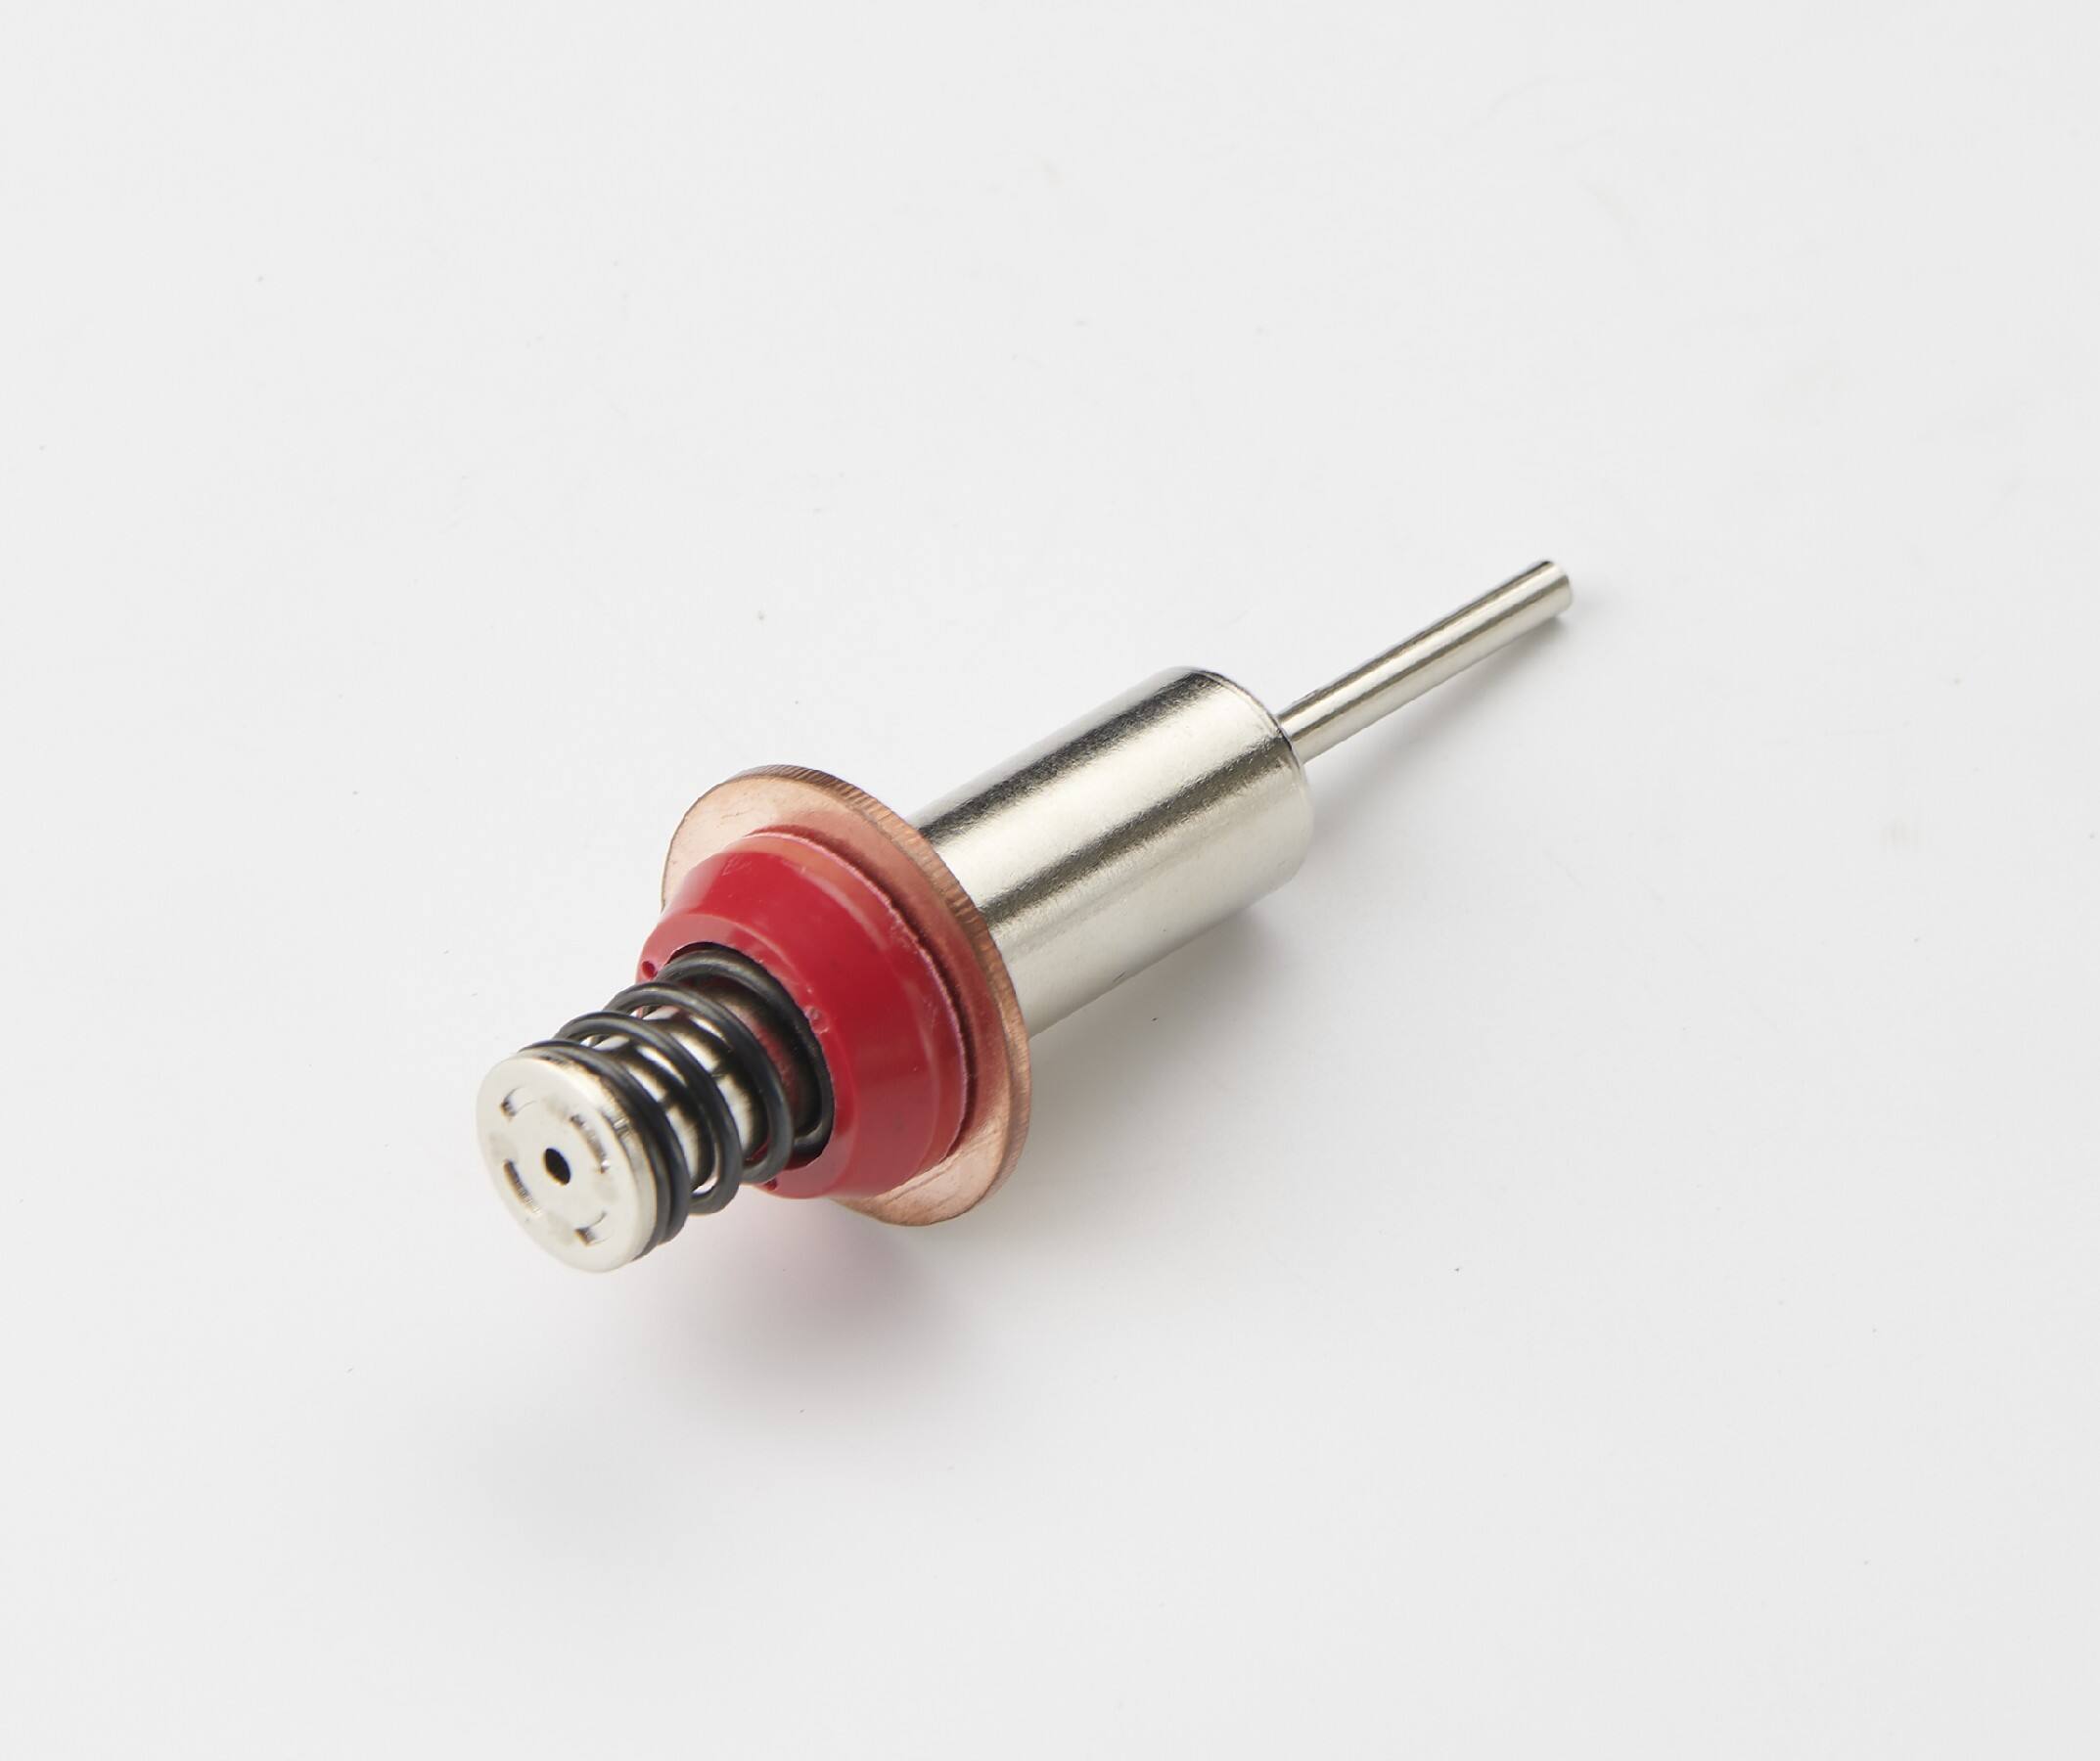
Visual inspection of the solenoid housing reveals external corrosion, mounting bracket damage, or terminal connection problems that affect overall system performance. Remove the solenoid from the starter motor assembly to examine the plunger mechanism for proper travel distance, spring condition, and mechanical binding issues. When you repair solenoid starter motor units, mechanical problems often prove easier to address than electrical failures, requiring only cleaning, lubrication, or minor component replacement.
Plunger stroke measurement ensures the solenoid extends sufficient distance to properly engage the starter drive gear with the flywheel ring gear. Insufficient plunger travel results in grinding noises during cranking attempts, while excessive travel can cause gear clash or premature wear on the drive mechanism. Professional repair standards specify exact plunger extension dimensions that vary between different starter motor designs and vehicle applications.
Step-by-Step Repair Procedures
Disassembly and Component Removal
Begin the repair process by disconnecting the negative battery cable to prevent accidental short circuits during solenoid handling procedures. Remove the starter motor from the vehicle following manufacturer-specified procedures, taking care to support the assembly weight properly to avoid damage to surrounding components. When preparing to repair solenoid starter motor assemblies, organize your workspace with adequate lighting and clean work surfaces to prevent contamination of precision components.
Carefully disconnect electrical connections from the solenoid terminals, noting wire positions and terminal identifications for proper reassembly procedures. Remove mounting screws or bolts securing the solenoid to the starter motor housing, using appropriate tools to prevent damage to threaded fasteners. Document the disassembly sequence with photographs or detailed notes to ensure correct component orientation during the reconstruction phase of your repair project.
Contact Point Restoration
Inspect contact point surfaces for signs of electrical erosion, corrosion buildup, or mechanical deformation that impedes proper electrical connection. Light surface pitting can often be addressed using fine-grit abrasive paper or specialized contact point files designed for automotive electrical repairs. Severe contact damage requires complete replacement of the contact assembly, ensuring new components meet original equipment specifications for current-carrying capacity and dimensional accuracy.
Clean contact surfaces thoroughly using electrical contact cleaner or isopropyl alcohol to remove oxidation, grease, or debris that increases electrical resistance. Apply a thin layer of dielectric grease to contact areas during reassembly to prevent future corrosion while maintaining proper electrical conductivity. Professional repair techniques emphasize the importance of proper contact alignment and spring tension adjustment to ensure reliable long-term operation of the restored solenoid assembly.
Troubleshooting Common Issues
Intermittent Operation Problems
Intermittent solenoid operation typically indicates loose electrical connections, corroded terminals, or internal contact point irregularities that disrupt current flow sporadically. Temperature-related failures occur when thermal expansion affects internal clearances or when heat-induced resistance changes alter electromagnetic coil performance. Systematic diagnosis of intermittent problems requires patience and multiple test cycles to reproduce failure conditions reliably before attempting repair procedures.
Vibration-induced failures result from loose mounting hardware, worn plunger guides, or inadequate electrical connection security at terminal points. Address mounting issues by inspecting bracket integrity, fastener torque specifications, and alignment between the solenoid and starter motor housing. When working to repair solenoid starter motor assemblies experiencing intermittent problems, focus on connection quality and mechanical stability rather than assuming internal component failure.
Complete Solenoid Failure Scenarios
Total solenoid failure manifests as complete absence of starter motor engagement when the ignition switch is activated, indicating either electromagnetic coil failure or complete contact point failure. Coil failure diagnosis requires resistance measurements across the electromagnetic winding, with infinite resistance readings indicating wire breakage within the coil assembly. Contact point welding from excessive current flow can create a permanently closed circuit that prevents proper solenoid disengagement after engine start.
Mechanical seizure of the plunger assembly prevents electromagnetic operation even when electrical circuits function correctly, requiring complete disassembly and cleaning of internal components. Corrosion within the plunger bore creates friction that overcomes electromagnetic force, while contamination from road debris or moisture can bind moving parts. Comprehensive repair procedures address both electrical and mechanical failure modes to restore full solenoid functionality and prevent recurring problems.
Professional Repair Tips and Best Practices
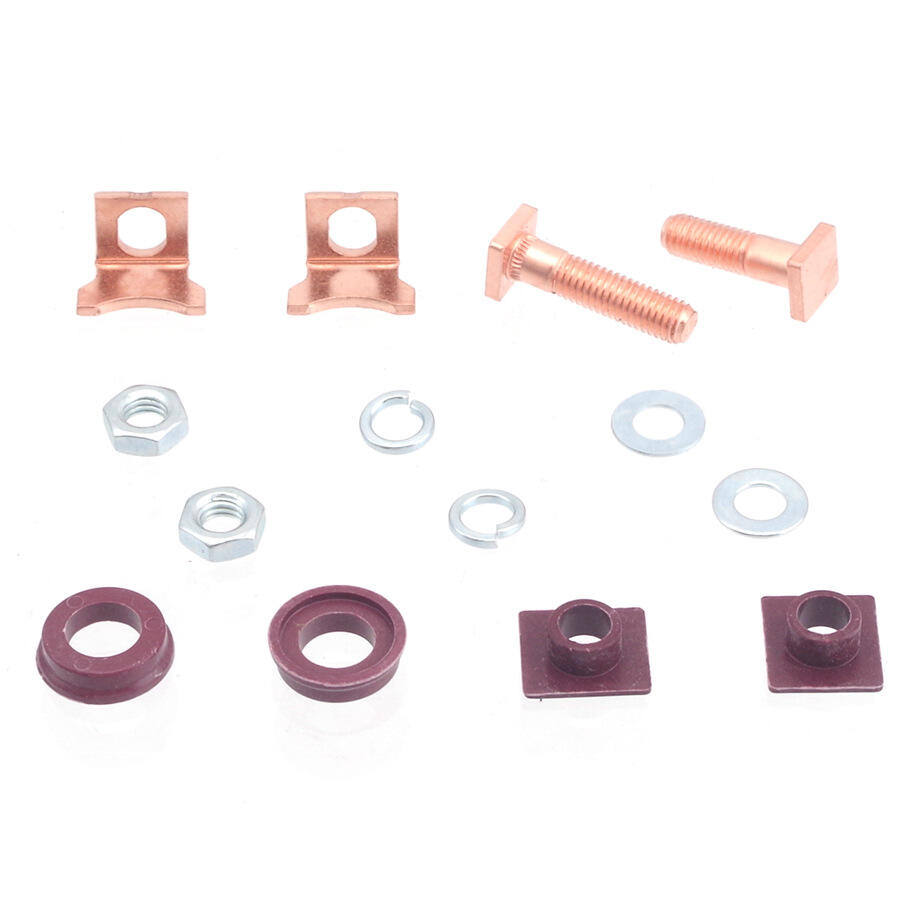
Quality Replacement Parts Selection
Selecting high-quality replacement components significantly impacts the longevity and reliability of your solenoid repair project, with genuine original equipment manufacturer parts typically providing superior performance compared to generic alternatives. Aftermarket solenoid assemblies vary considerably in build quality, contact point materials, and electromagnetic coil specifications that affect current-carrying capacity and operational lifespan. Professional technicians who regularly repair solenoid starter motor units recommend investing in quality components to avoid premature failure and repeated repair cycles.
Contact point material selection influences electrical conductivity, wear resistance, and corrosion tolerance under automotive operating conditions. Silver-plated copper contacts offer excellent conductivity and corrosion resistance, while pure copper contacts provide adequate performance at lower cost for budget-conscious repairs. Electromagnetic coil specifications must match original equipment requirements for proper magnetic field strength and current draw characteristics during normal operation.
Preventive Maintenance Strategies
Regular preventive maintenance extends solenoid service life and reduces the frequency of major repair interventions, focusing on electrical connection cleanliness and mechanical lubrication schedules. Clean battery terminals and starter circuit connections annually to prevent voltage drop conditions that stress solenoid electromagnetic coils during operation. Apply dielectric grease to electrical connections to inhibit corrosion formation while maintaining proper conductivity between mating surfaces.
Periodic inspection of mounting hardware prevents vibration-induced failures that accelerate internal component wear and electrical connection deterioration. Monitor starting system performance for signs of sluggish engagement, unusual noises, or inconsistent operation that indicate developing problems before complete failure occurs. Proactive maintenance approaches prove more cost-effective than emergency repair situations that often require premium replacement parts and expedited service procedures.
Advanced Repair Techniques
Electromagnetic Coil Rebuilding
Advanced repair techniques include electromagnetic coil rewinding procedures for solenoids where replacement assemblies are unavailable or cost-prohibitive for older vehicle applications. Coil rebuilding requires specialized equipment including wire winding machines, insulation materials, and precise turn-count specifications to duplicate original magnetic field characteristics. Professional coil rebuilding services can restore solenoid functionality when standard replacement options fail to provide adequate performance or dimensional compatibility.
Temperature-resistant wire insulation and proper coil impregnation techniques ensure rebuilt electromagnetic assemblies withstand automotive operating environments including extreme temperatures, vibration, and moisture exposure. Quality control testing during coil rebuilding includes resistance measurements, insulation testing, and magnetic field strength verification to guarantee performance equivalent to original equipment specifications. When circumstances require you to repair solenoid starter motor assemblies through coil rebuilding, professional expertise often provides better results than amateur attempts with inadequate equipment.
Custom Modification Approaches
Performance modifications to starter solenoids can improve reliability and extend service life through upgraded materials, enhanced cooling provisions, or reinforced mechanical components designed for demanding applications. High-performance contact materials resist electrical erosion while maintaining low resistance characteristics under heavy current flow conditions. Upgraded plunger guides and spring assemblies reduce mechanical wear while ensuring consistent engagement forces throughout the solenoid service life.
Custom housing modifications improve heat dissipation during extended cranking cycles common in diesel engine applications or extreme weather conditions. Enhanced terminal designs accommodate larger wire gauges and provide improved connection security for high-current applications. Modification work requires careful attention to dimensional constraints, electrical specifications, and mechanical compatibility with existing starter motor assemblies to avoid interference or performance degradation.
FAQ
How do I know if my starter solenoid needs repair
Common symptoms indicating solenoid problems include clicking sounds when turning the key, intermittent starting issues, or complete starter motor failure despite adequate battery power. Test voltage at solenoid terminals during cranking attempts and measure continuity across contact points with a multimeter. When you need to repair solenoid starter motor assemblies, these electrical tests provide definitive diagnosis before disassembly procedures begin.
What tools are required for solenoid repair work
Essential tools include a digital multimeter for electrical testing, basic hand tools for disassembly, contact point files for surface restoration, and electrical contact cleaner for component preparation. Specialized tools such as spring compressors or plunger pullers may be necessary depending on solenoid design complexity. Quality tools ensure proper repair procedures and prevent damage to precision components during restoration work.
How long should a repaired solenoid last
Properly repaired solenoids using quality replacement components typically provide five to seven years of reliable service under normal operating conditions. Service life depends on starting frequency, environmental conditions, and maintenance quality of the entire starting system. Regular preventive maintenance and prompt attention to developing problems extend repaired solenoid longevity and prevent recurring failure issues.
Can I repair a solenoid without special equipment
Basic solenoid repairs including contact point cleaning, terminal restoration, and mechanical lubrication require only common hand tools and electrical testing equipment available to most home mechanics. Complex procedures such as coil rewinding or precision machining require specialized equipment better suited to professional repair facilities. Most solenoid problems can be addressed using standard automotive tools and careful attention to proper repair procedures and specifications.